 Method 1
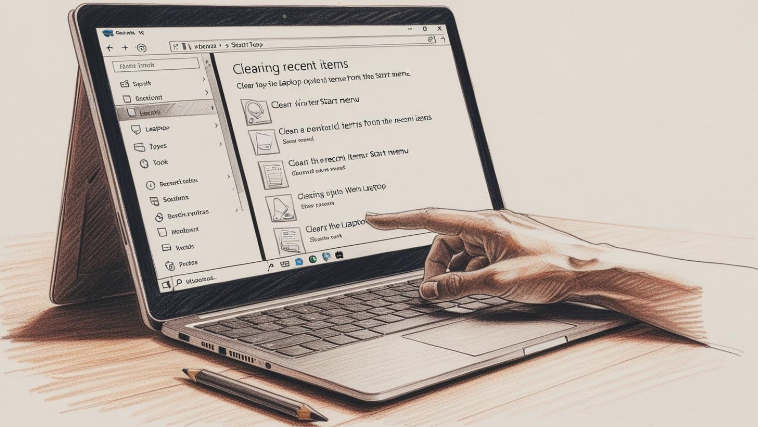
Clearing recent items from the Start menu can help maintain privacy and ensure your system runs smoothly.
Open Settings
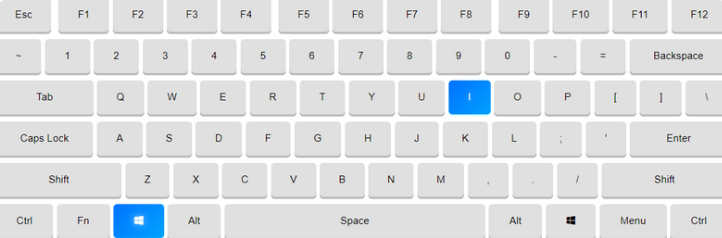
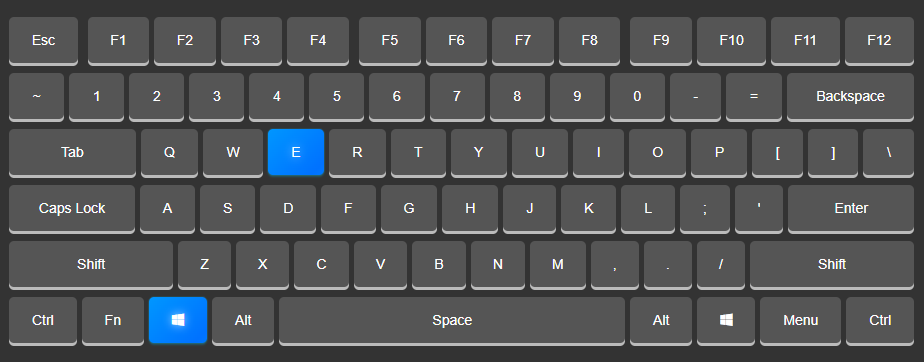
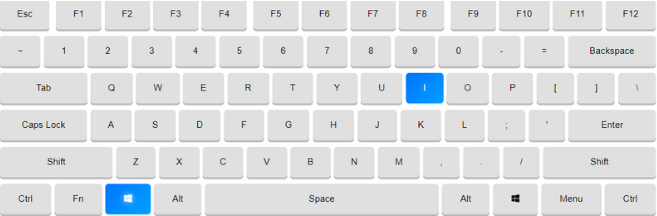
Press Win + I to open the Settings menu.
Navigate to Personalization
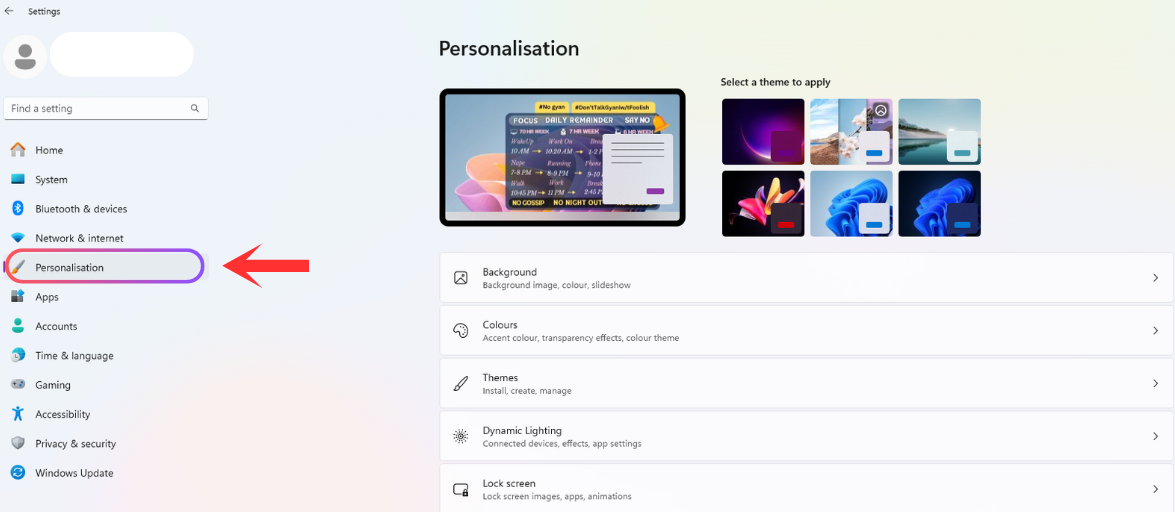
Select Personalization from the left sidebar.
Access Start Settings

Scroll down and click on Start.
Turn Off Recent Items

Find the option that says Show recently opened items in Start, Jump Lists, and File Explorer and toggle it off.
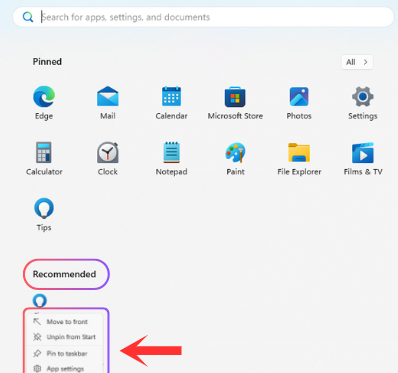
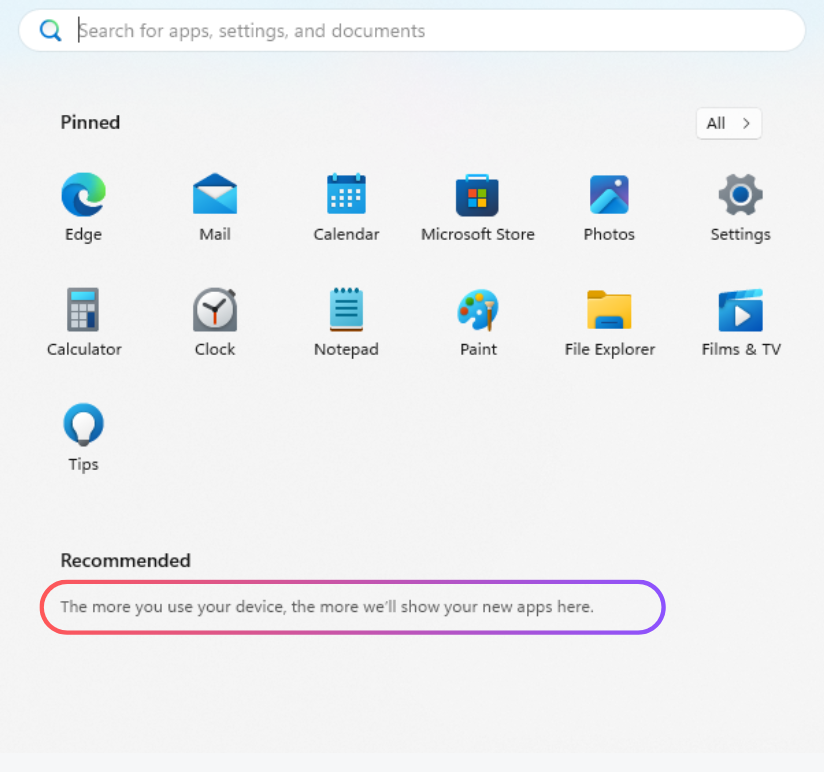
Remember: To clear your history but keep the Recommended feature, toggle it off, restart your system, then toggle it back on.