 Method 1
To repair a Windows 11 image using DISM commands is as shown below. This standard repair process works well for common issues with system file corruption.
Open Elevated Command Prompt
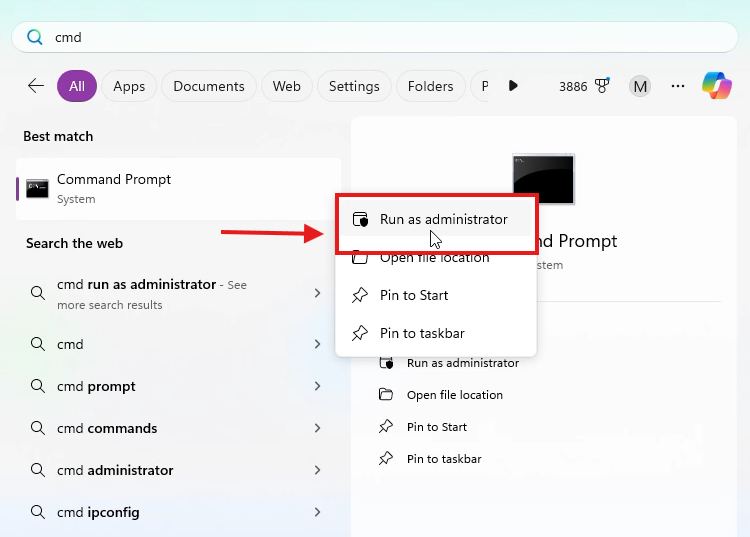
Press the Windows key, then search for "cmd".Right-click on Command Prompt and select Run as Administrator.
Check System Health
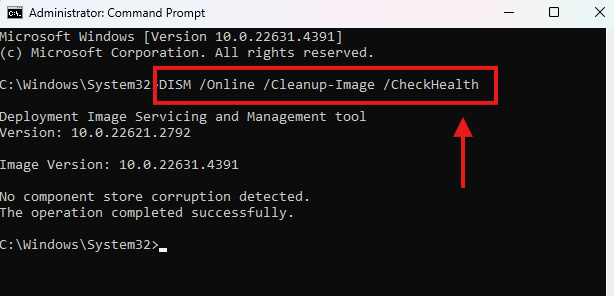
At the Command Prompt, type the following command and press Enter:
DISM /Online /Cleanup-Image /CheckHealth
This command checks your system health and does not make any changes.
If everything is in order, you will see the message: "No component store corruption detected. The operation completed successfully."
Scan for Infected Files
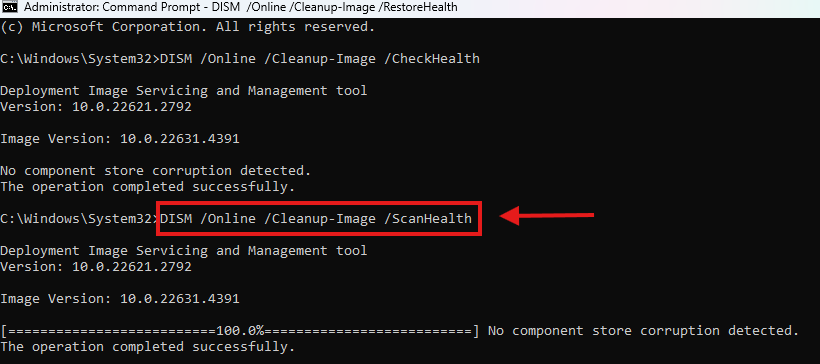
If the CheckHealth scan detects a problem, run the following command to perform a deeper scan:
DISM /Online /Cleanup-Image /ScanHealth
This command performs a thorough scan for system corruption. It may take a few minutes, and if any issues are found, they will be repaired automatically, displaying: "Corruption detected. The operation completed successfully."
Correcting the Image
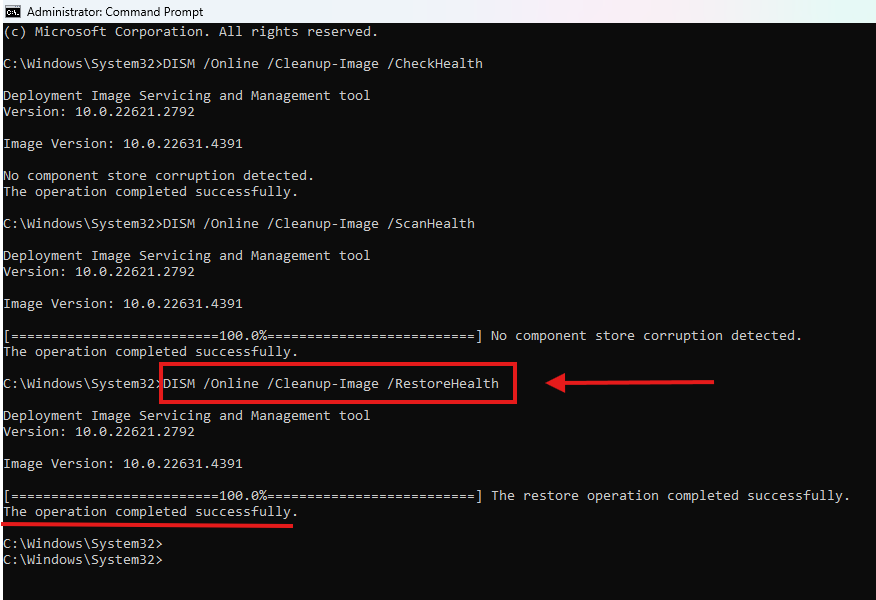
To fix any issues detected in the previous step, execute the following command:
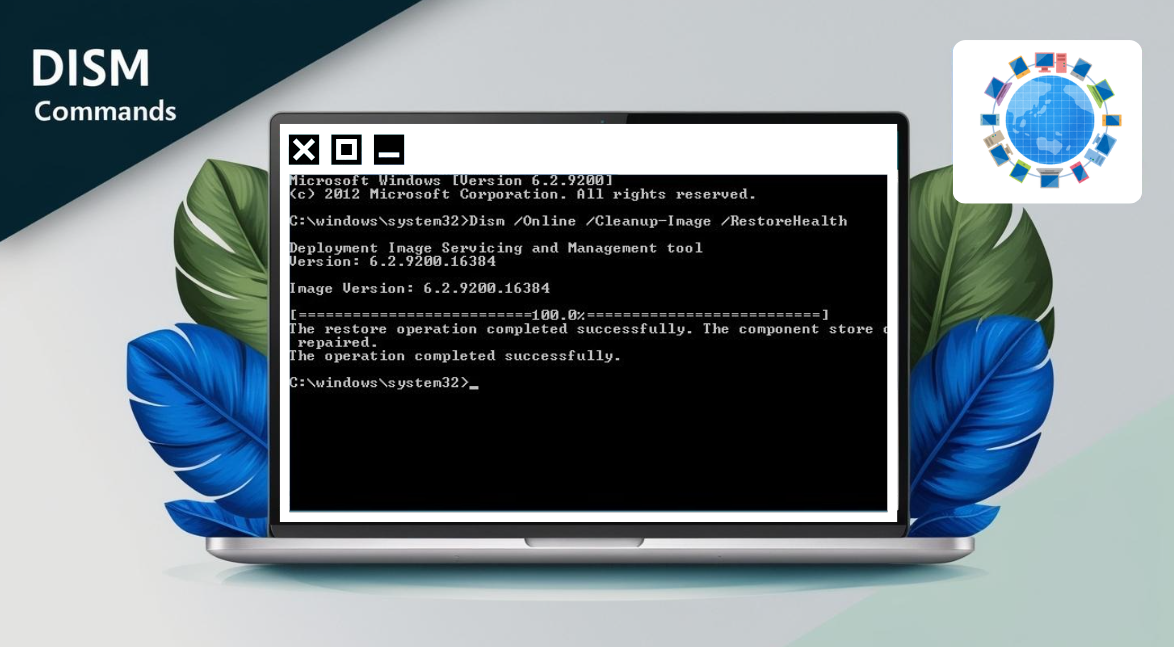
DISM /Online /Cleanup-Image /RestoreHealth
Wait for the process to complete, then restart your computer to apply the changes.
Caution: A local source can save time and will not make mistakes in case the DISM command fails to retrieve some files online.