 Method 1
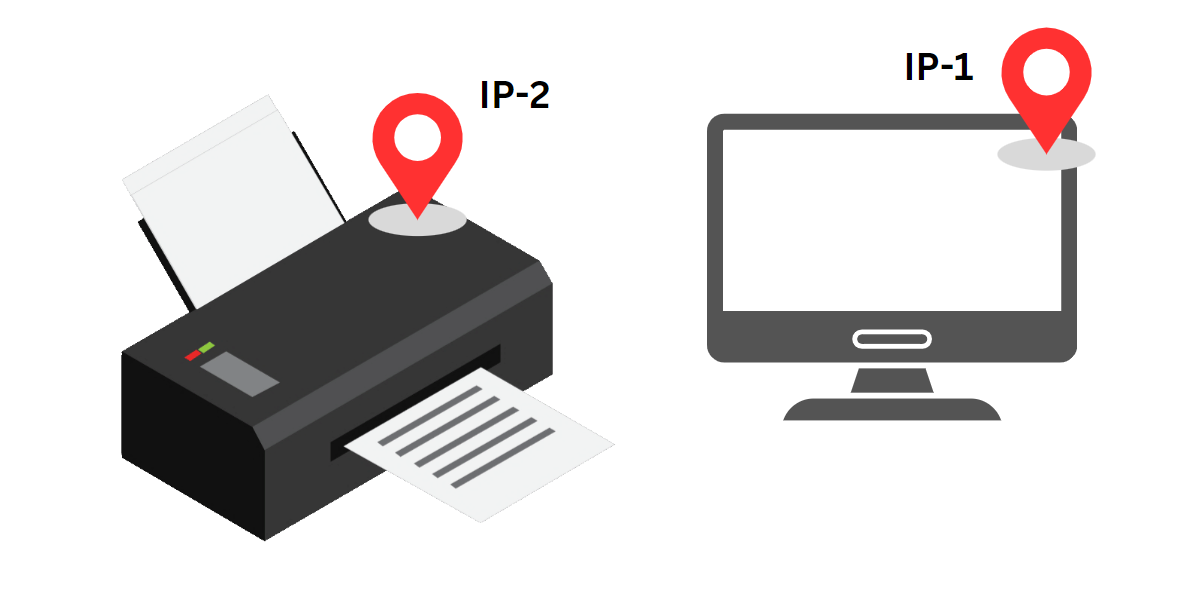
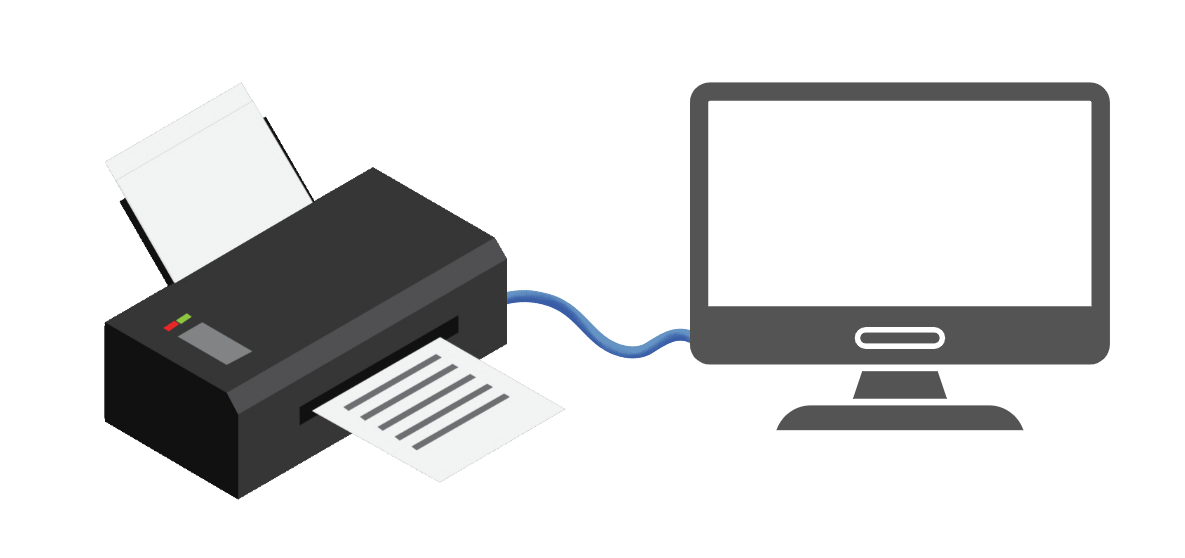
Sharing a printer over a local network allows all devices connected to the same network to print directly through a shared host computer.
 Step 1
Connect the Printer
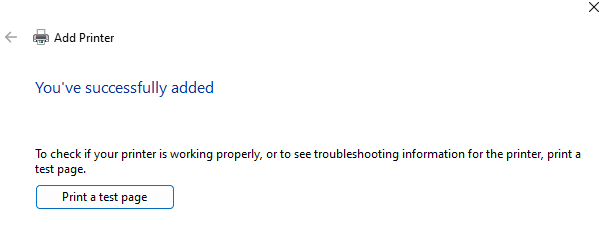
Plug your printer into the main computer and make sure it works.
Print a test page to be sure.
 Step 2
Turn on Sharing
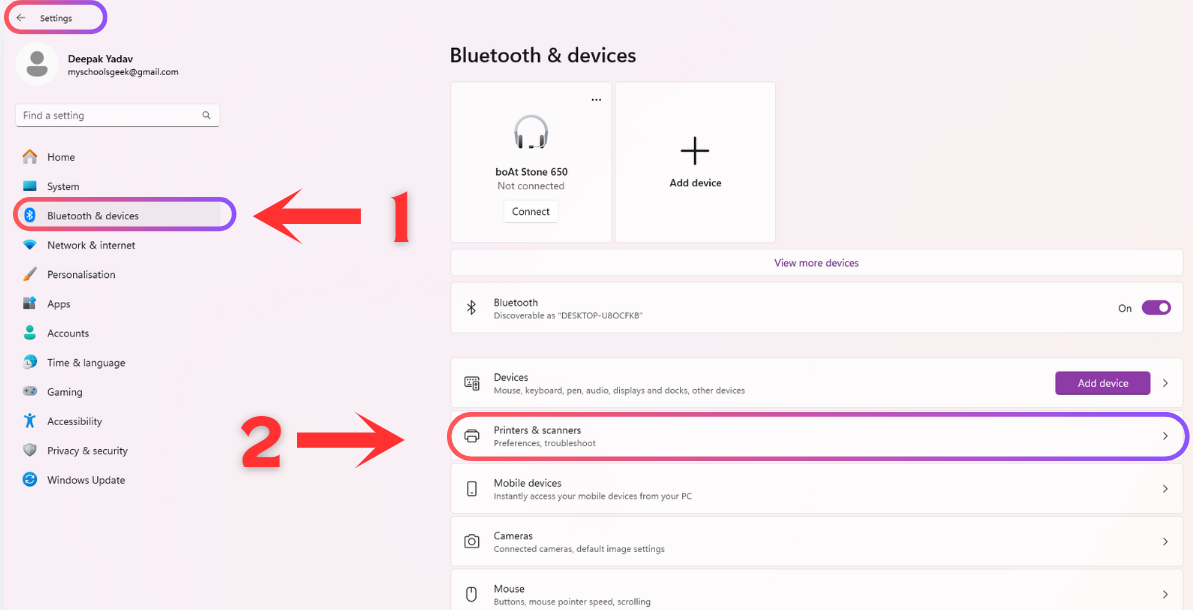
Press Win + I to open Settings.
Go to Buletooth & Devices → Printers & Scanners.
Pick your printer, click Manage, then Printer Properties.
Under the Sharing tab, check Share this printer.
 Step 3
Change Network Settings
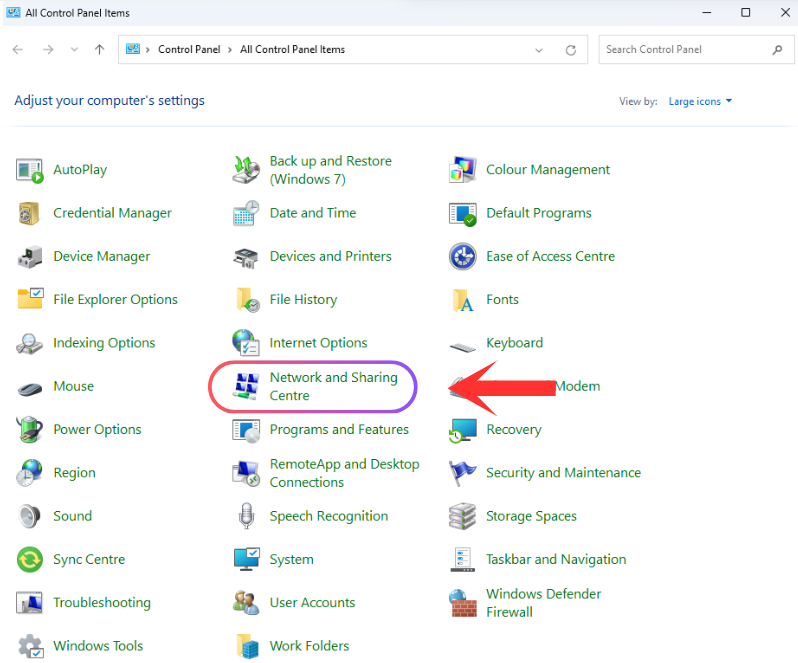
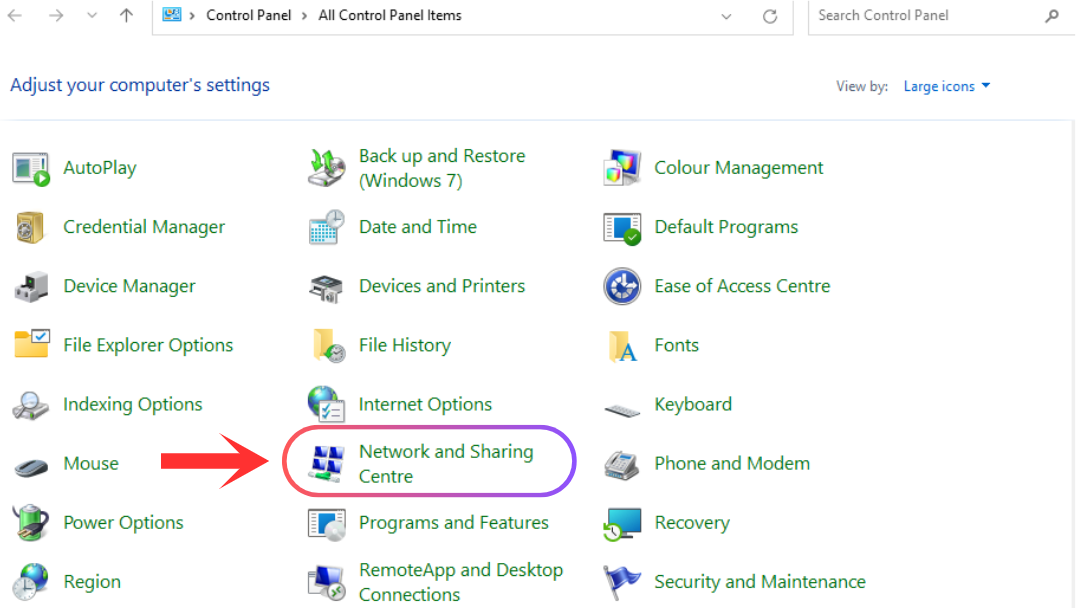
Open the Control Panel and go to Network and Sharing Center.
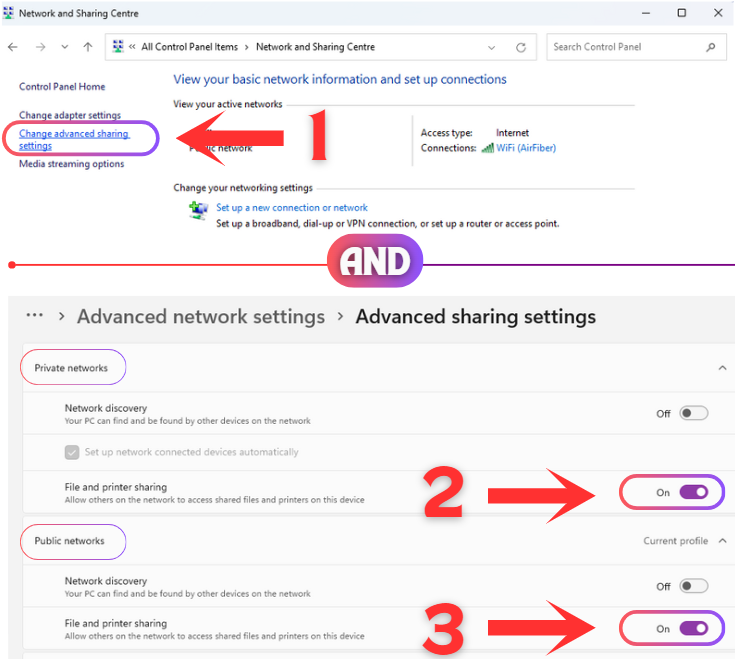
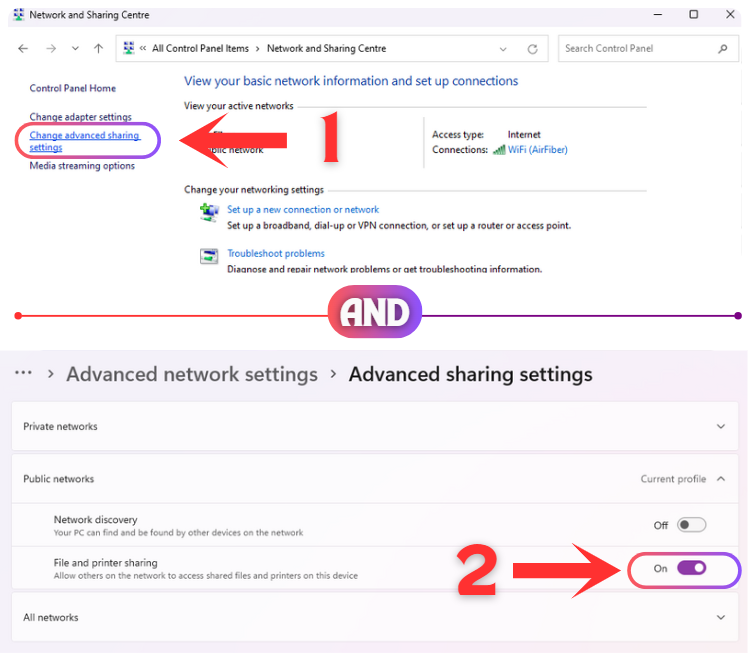
Click Change advanced sharing settings.
Turn on File and Printer Sharing. (You can open this directly with Settings → Network & Internet → Advanced Network Settings.)
Turn off Password-protected sharing if you don’t need it.
 Step 4
Add the Printer on Other Computers

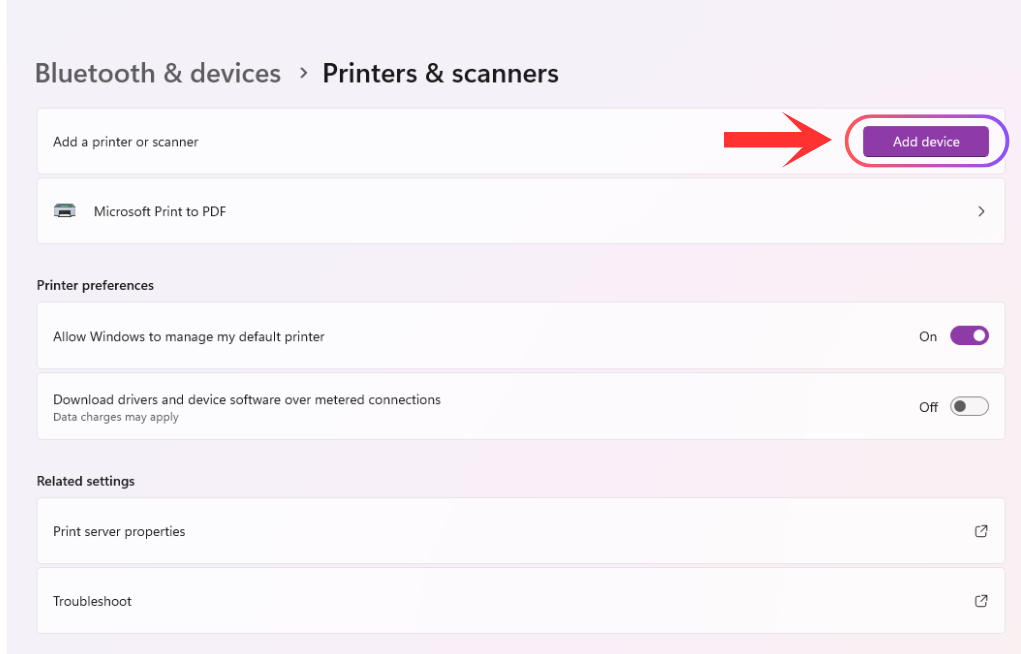
On the other computers, go to Settings → Bluetooth & Devices → Printers & Scanners.
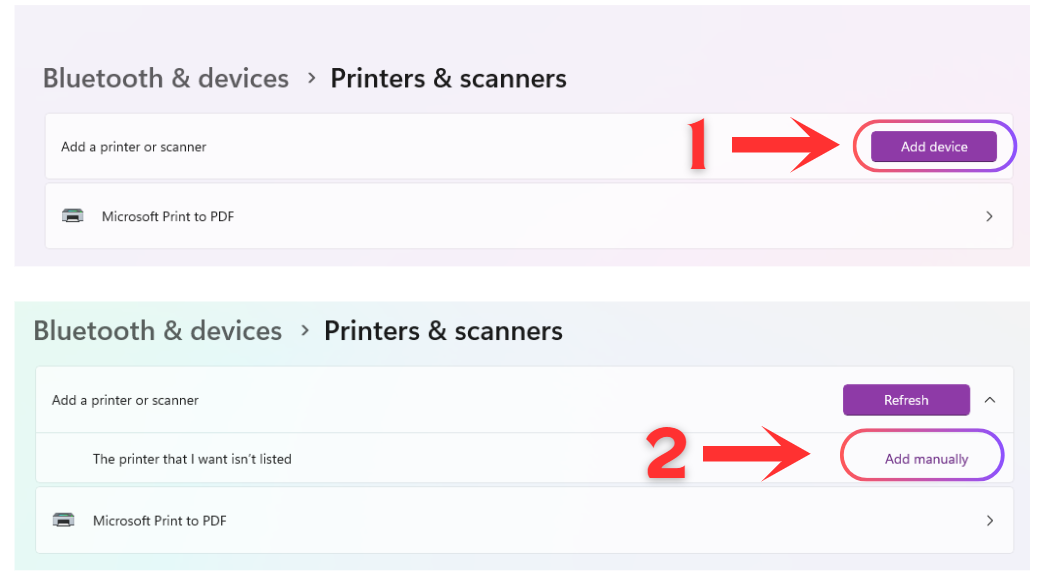
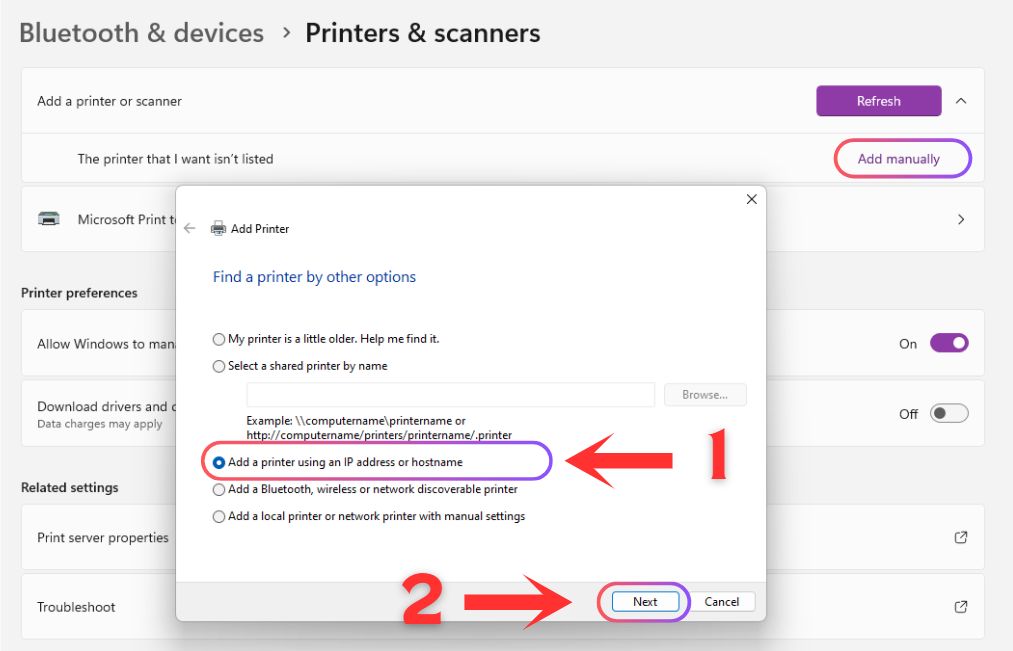
Click Add a printer.
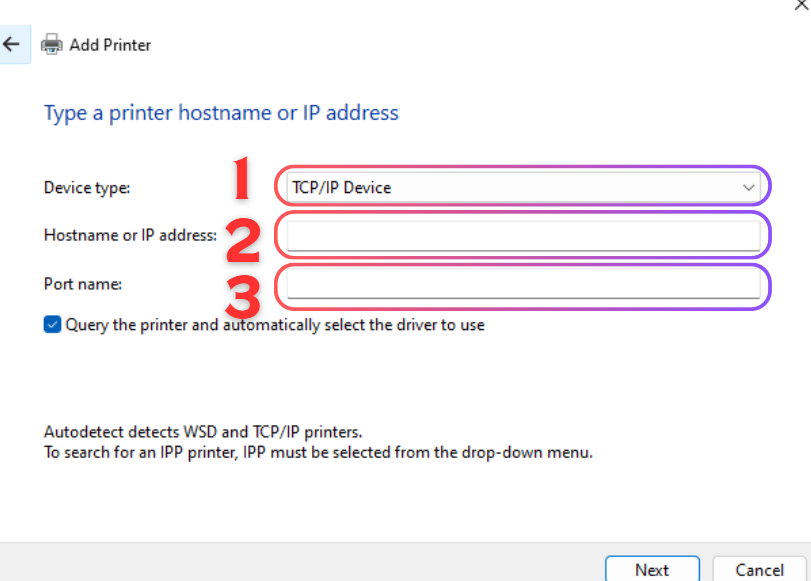
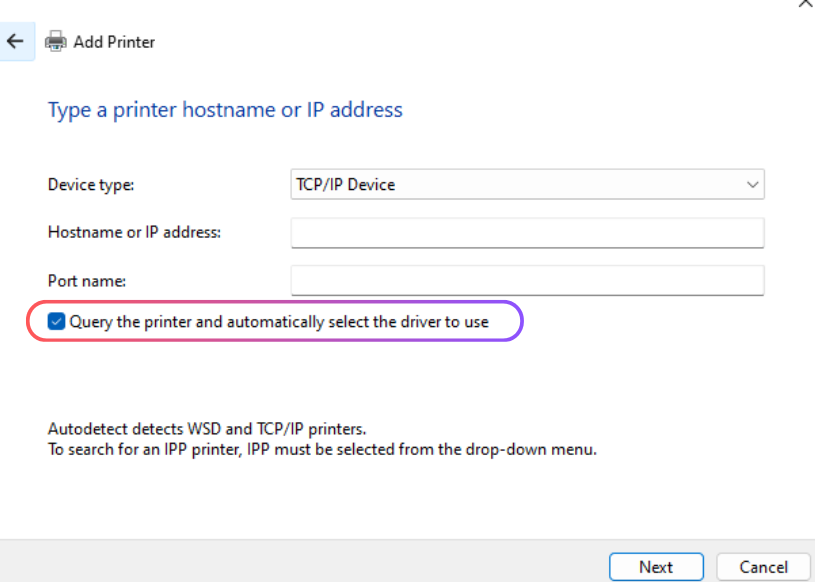
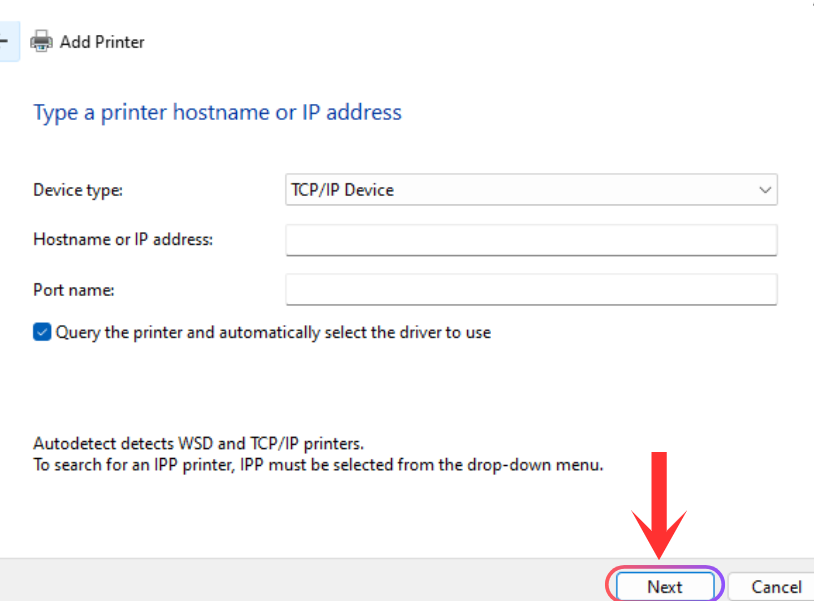
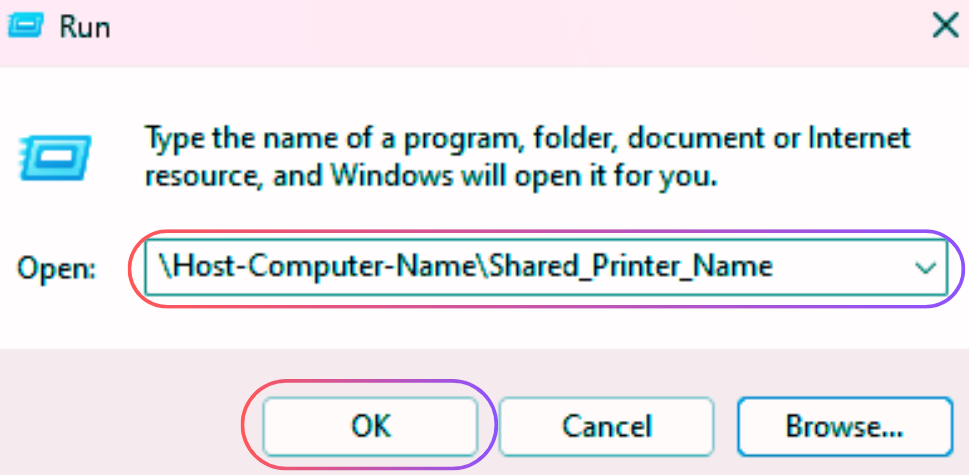
If it doesn’t show up, click on Manual and select the your connection or type in the printer or computer name.
Tip: Keep the main computer from sleeping and make sure Network Discovery is turned on.