WINDOW 11

How to Take Ownership of Files and Folders in Windows 11

5 SOLUTIONS
NOVEMBER 06, 2024

Taking ownership of Windows 11 allows you to modify or delete protected files, folders, and drives. Here we have covered how to take ownership using different methods with clear, step-by-step instructions.

Deepak Yadav
Deepak Yadav

Expert, Head of Windows Circle

Backup Files

Always backup files, especially system files, before changing ownership.

Administrator Access

You need to be logged in as an administrator.

Security Risks

Modifying permissions for system files can lead to instability, so only change ownership if necessary.

Using File Explorer

6 STEPS EASY 2 MIN

1/5

METHOD
Method 1
Overview

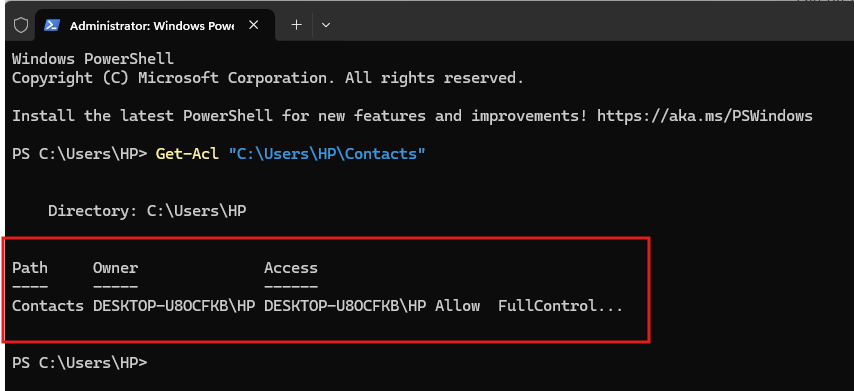
This user-friendly method lets you change ownership of files or folders from within the Windows interface.

Method 1 of 5
Next Method

Navigate to the file or folder

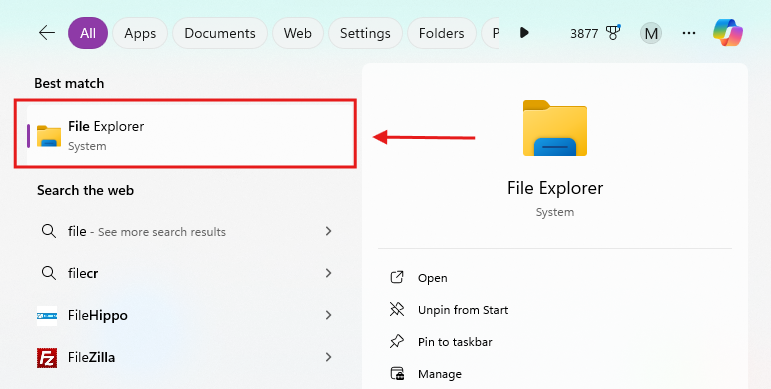
Open File Explorer and locate the file or folder you need to take ownership of.

Method 1 of 5
Step 1 of 6

Right-click and open properties

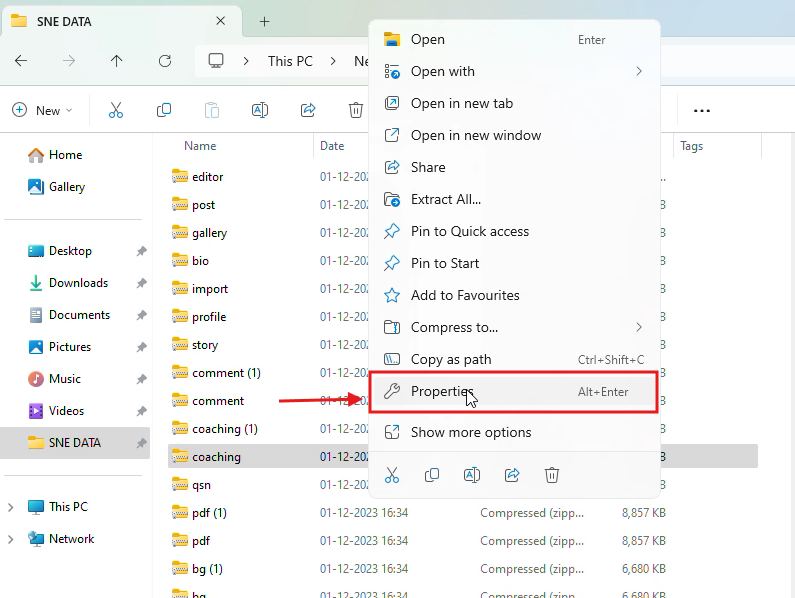
Right-click on the item and select Properties from the context menu.

Method 1 of 5
Step 2 of 6

Go to the Security tab

Click on the Security tab and select Advanced.

Method 1 of 5
Step 3 of 6

Change the owner

Click Change next to the Owner field, type your username, or use Advanced >

Method 1 of 5
Step 4 of 6

Find the Name

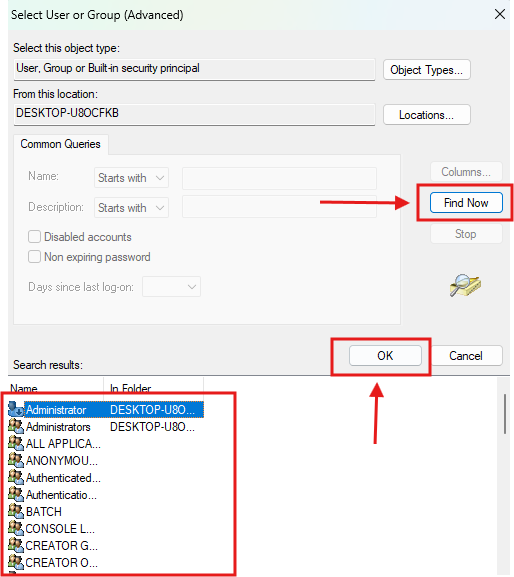
Click on Find Now to select your account.

Method 1 of 5
Step 5 of 6

Confirm changes

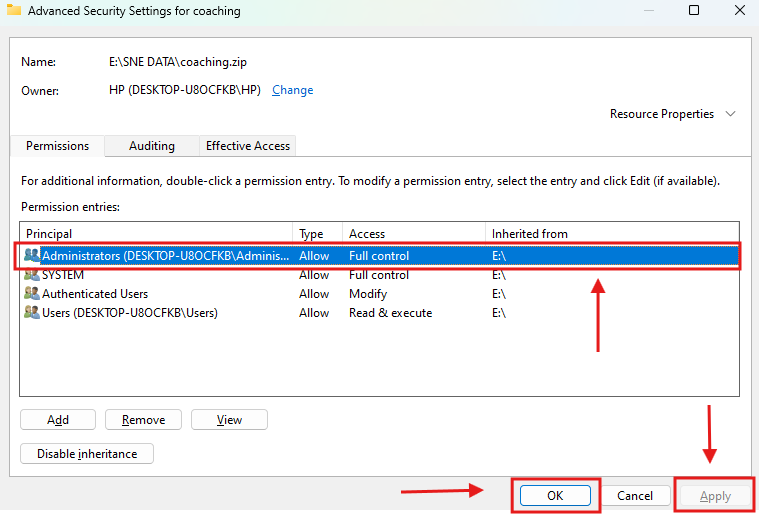
Click Apply and then OK.

Reopen the properties window to verify the changes if needed.

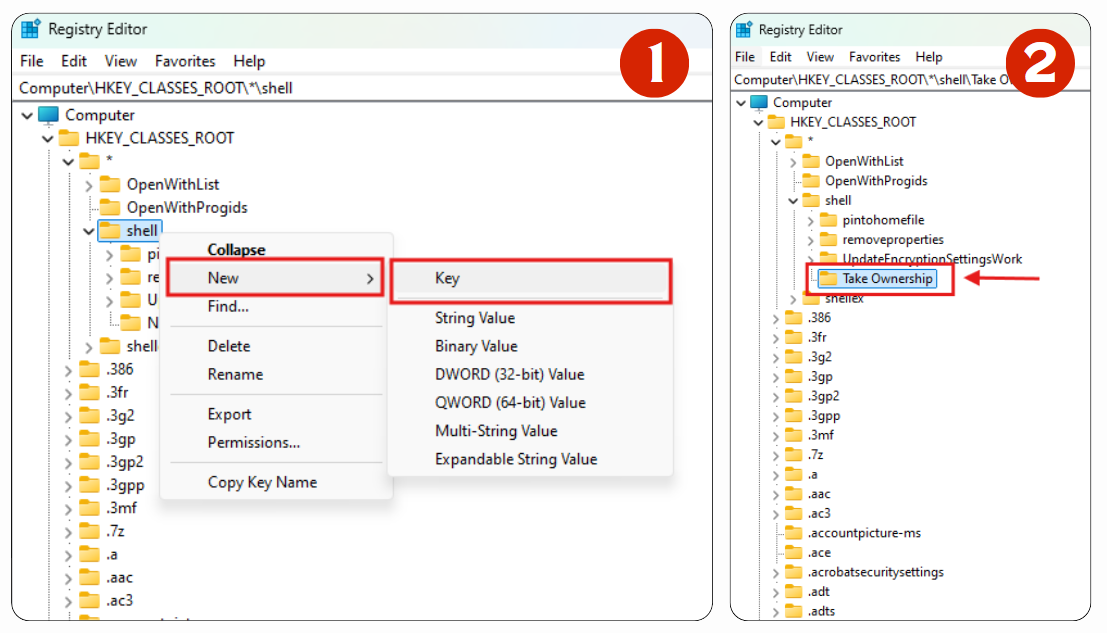
Caution: To make ownership transfers faster, consider adding a context menu option for quick access (details provided below).

Method 1 of 5
Step 6 of 6

Using Command Prompt (cmd)

4 STEPS EASY 2 MIN

2/5

METHOD
Method 2
Overview

This is best suited to users who are familiar with command-line tools. The file and folder ownership can be controlled to the minute.

Method 2 of 5
Next Method

Run Command Prompt as Administrator

Press Windows + S, type cmd, right-click on Command Prompt, and select Run as administrator.

Method 2 of 5
Step 1 of 4

Execute takeown command

Enter takeown /F "full\path\to\file_or_folder" and press Enter.

Caution: Is showing "ERROR: Invalid argument" then try Enter takeown /F "full\path\to\file_or_folder" /r /d y and press Enter.

Method 2 of 5
Step 2 of 4

Grant permissions

Run icacls "full\path\to\file_or_folder" /grant %username%  and press Enter.

Method 2 of 5
Step 3 of 4

Verify ownership

Check the properties of the file or folder under Security to confirm ownership.

Warning: Use the icacls command carefully as incorrect permissions can lock you out of files.

Method 2 of 5
Step 4 of 4

Using PowerShell

3 STEPS EASY 2 MIN

3/5

METHOD
Method 3
Overview

PowerShell is made for scriptable and automatic handling of changes to ownership. These are good for handling files or folders in large numbers.

Method 3 of 5
Next Method

Run PowerShell as Administrator

Press Windows + X and select Windows Terminal (Admin) or open PowerShell with admin privileges.

Method 3 of 5
Step 1 of 3

Use Set-ACL cmdlet

Enter the following commands:

$path = "full\path\to\file_or_folder" $acl = Get-Acl $path $acl.SetOwner([System.Security.Principal.NTAccount]"YourUsername") Set-Acl $path $acl
Replace YourUsername with your actual account name.

Method 3 of 5
Step 2 of 3

Verify ownership

Run Get-Acl "full\path\to\file_or_folder" to check if ownership has been updated.

Tip: PowerShell is effective for automating ownership transfers over multiple files and folders.

Method 3 of 5
Step 3 of 3

Using Registry Editor (Add Context Menu Option)

5 STEPS EASY 2 MIN

4/5

METHOD
Method 4
Overview

Add the 'Take Ownership' option to the context menu for easier access to file and folder ownership.

Method 4 of 5
Next Method

Open Registry Editor

Press Windows + R

type regedit, and hit Enter.

Confirm with Yes if prompted by UAC.

Method 4 of 5
Step 1 of 5

Navigate to key path

Go to HKEY_CLASSES_ROOT\*\shell. (As shown in above image)

Method 4 of 5
Step 2 of 5

Create a new key

Right-click on shell

Choose New > Key

Now, name it Take Ownership.

Method 4 of 5
Step 3 of 5

Add command subkey

Right-click on Take Ownership.

Now set its Default value to cmd.exe /c takeown /f "%1" && icacls "%1" /grant %username% . (By right clicking on default and selecting modify option)

Method 4 of 5
Step 4 of 5

Save and exit

Close Registry Editor and verify that the Take Ownership option is available in the right-click context menu.

Info: This method is a quick way to apply ownership changes without using the command line.

Method 4 of 5
Step 5 of 5

Using Third-Party Tools (TakeOwnershipEx)

2 STEPS EASY 2 MIN

5/5

METHOD
Method 5
Overview

Handle system files with utmost care because there is a possibility that the system might become unstable or unstable from inappropriate configuration.

Method 5 of 5

Download and install

Use third-party tools like TakeOwnershipEx for a simple GUI-based solution.

Method 5 of 5
Step 1 of 2

Run the tool

Open the tool, select the file or folder, and click Take Ownership.

Method 5 of 5
Step 2 of 2

Additional Tips

Image

Ensure you have administrator privileges before trying to take ownership of system files or folders to avoid access issues.

If you encounter access problems, try taking ownership in Safe Mode for a higher chance of success.

Tools such as Explorer++ with elevated privileges can make ownership changes smoother and easier to manage.