 Method 1
This is the most straightforward and widely used method for flushing the DNS cache.
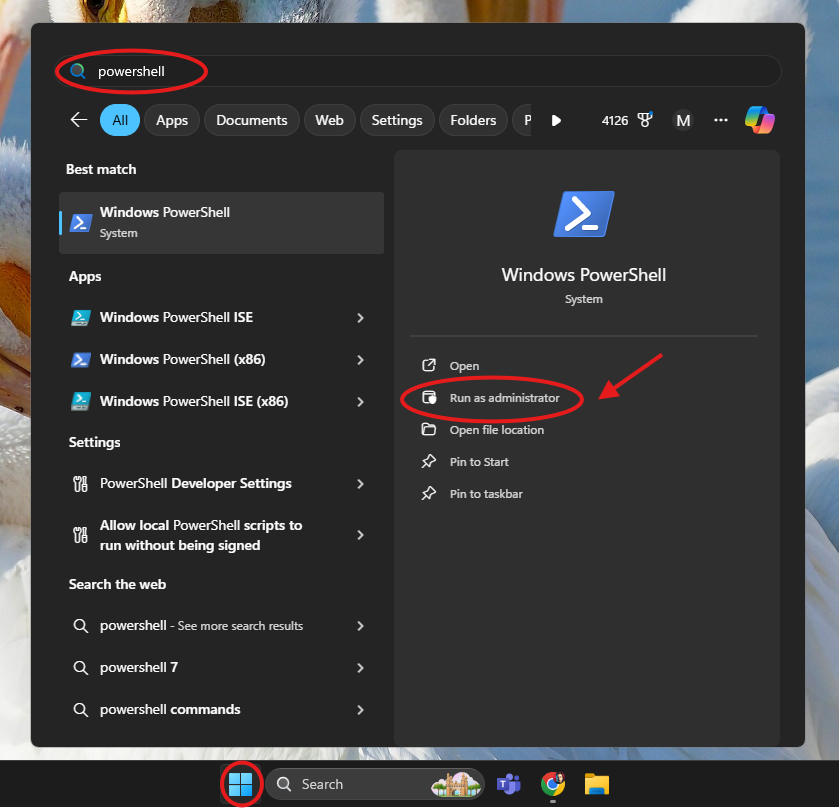
Open Start Menu
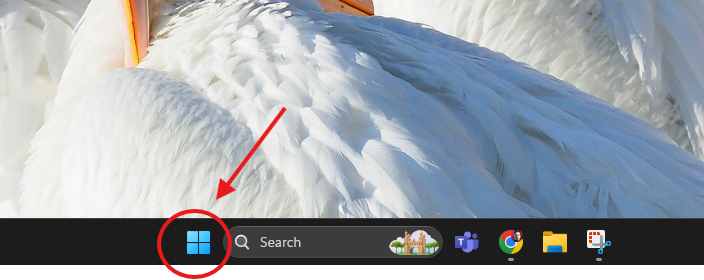
Click the Windows icon on your taskbar
Search Command Prompt
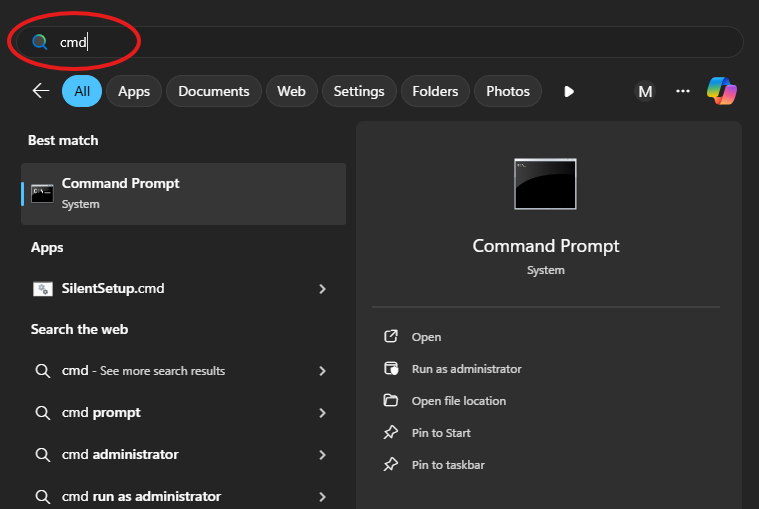
Type cmd in the search bar
Run as Administrator
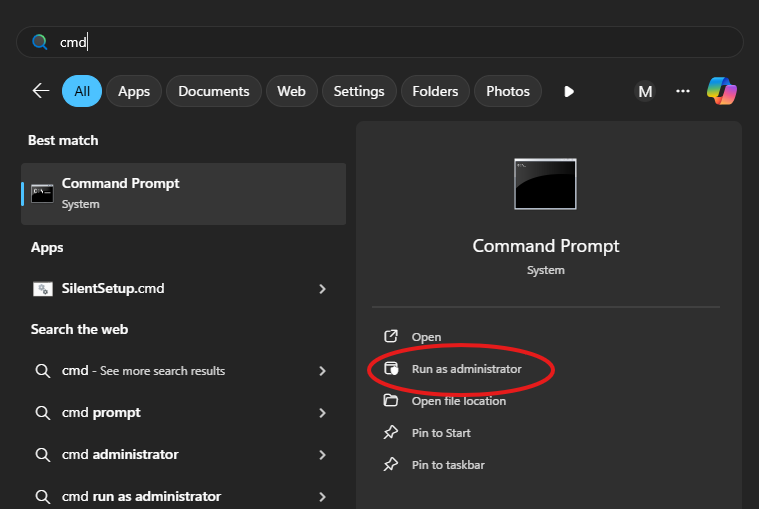
Right-click Command Prompt → Run as administrator
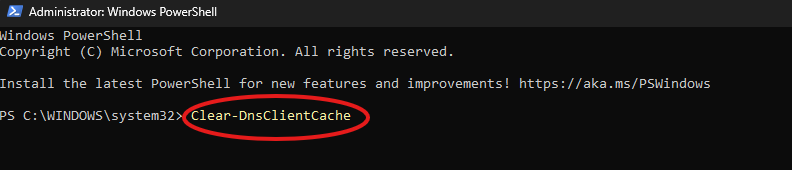
Execute Command
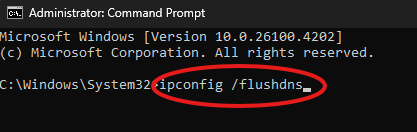
Type: ipconfig /flushdns → Press Enter
Verify Success
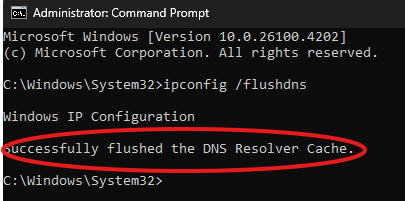
You should see:Successfully flushed the DNS Resolver Cache
Note: Restart your computer to ensure all apps and services reload fresh DNS data.