WINDOWS 11

Completely Remove Riot Client and Valorant from Your Windows 11 PC

If you are looking to completely remove the Riot Client and Valorant from your Windows 11 system—be it to solve performance issues, free up space, or just move on to other games—this guide will be clear and efficient.

Deepak Yadav

11/29/2024 02:07:42
Windows 11 Settings (Recommended)

Prerequisite

Close Valorant and related processes
Use Task Manager (Ctrl + Shift + Esc) to end all Valorant and Riot processes.

Disconnect from the internet
This prevents automatic updates or service restarts during uninstallation.

  1. Open Settings

  2. Press Windows key + I

  3. Navigate to Apps

  4. Select "Apps & features"

  5. Search for "Riot Vanguard"

  6. Click the three dots > Uninstall

  7. Restart your system

  8. Uninstall Valorant

  9. Clean residual files

  10. Windows key + R type %localappdata% press Enter

  11. Delete the "Riot Games" folder (if present)

Restart your computer after each major step in this process. It might seem tedious, but it's the best way to ensure a clean removal.

Valorant and Riot Vanguard Uninstallation (Deep Cleaning)
  1. Uninstall Riot Vanguard


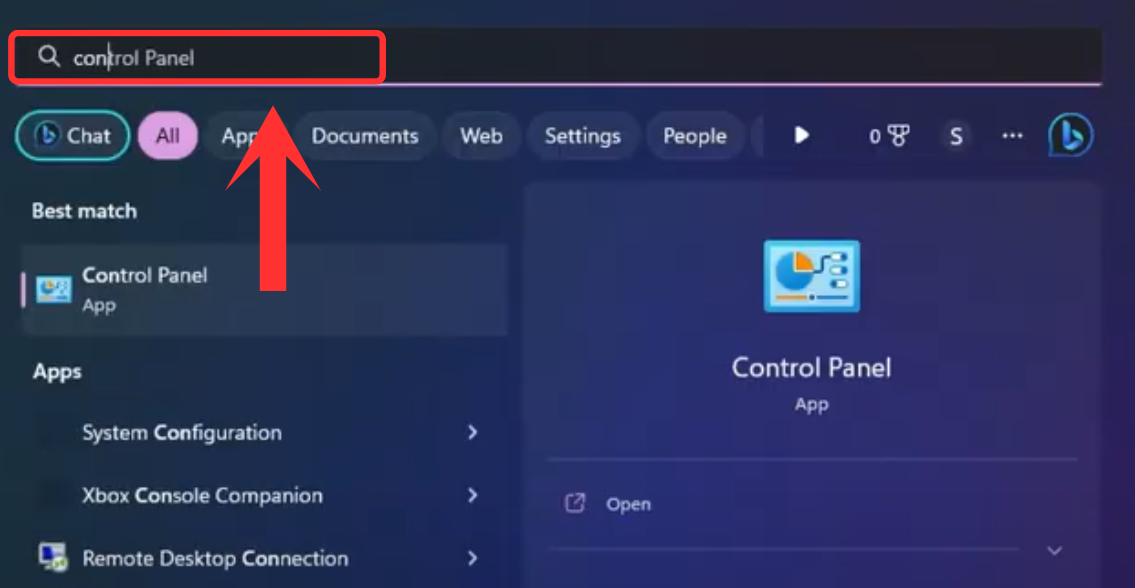
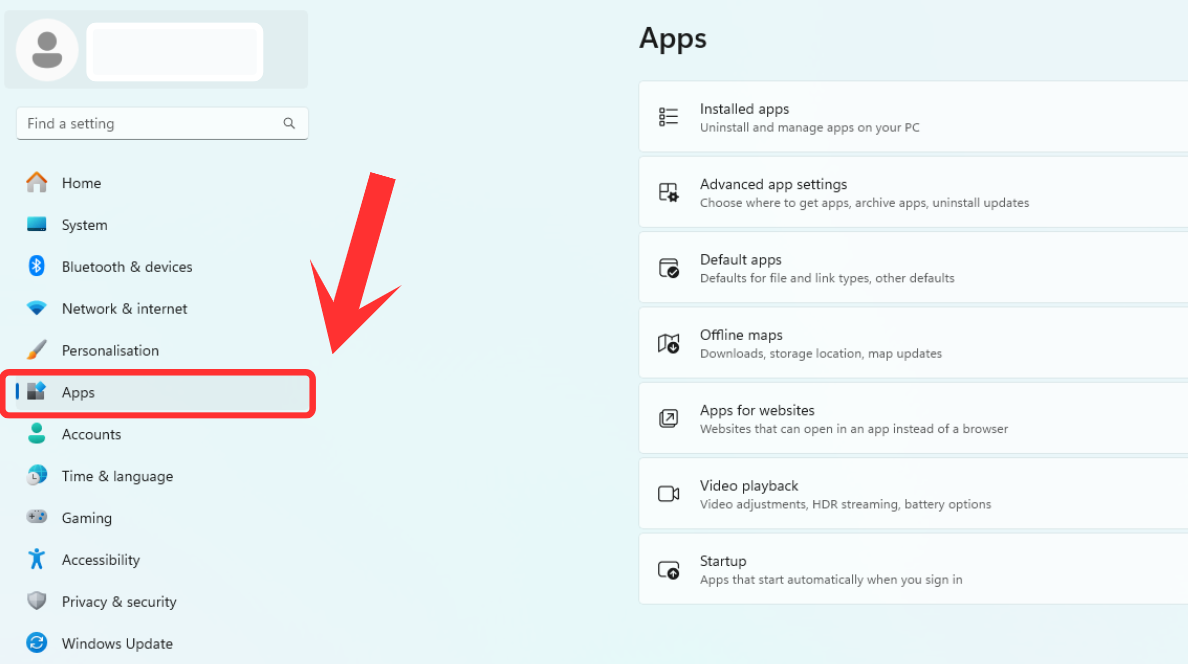
  2. Hit the Windows key, type "Control Panel" , and press Enter.

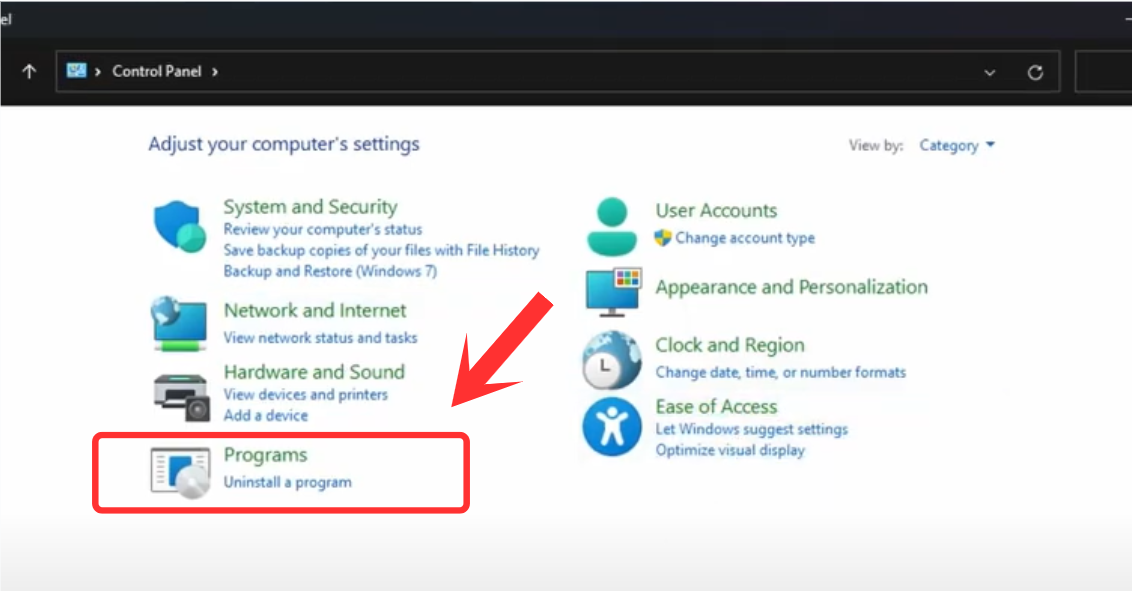
  3. Look for "Uninstall a Program" under Programs and click it.

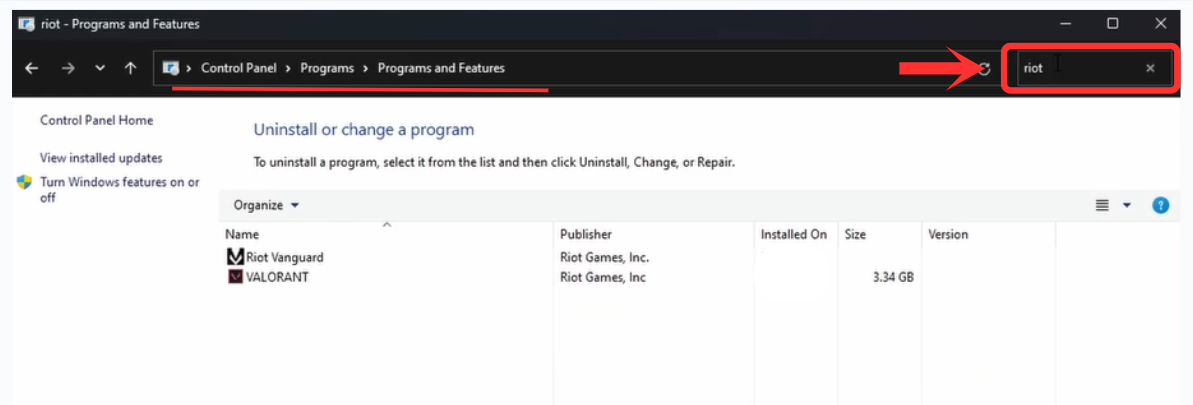
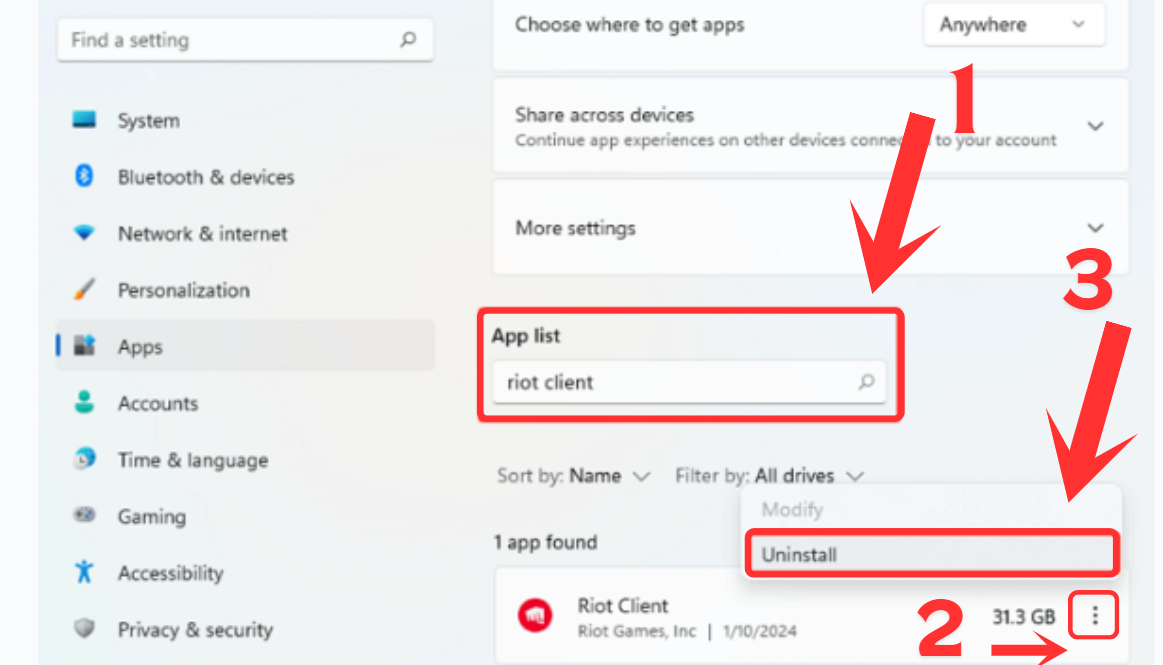
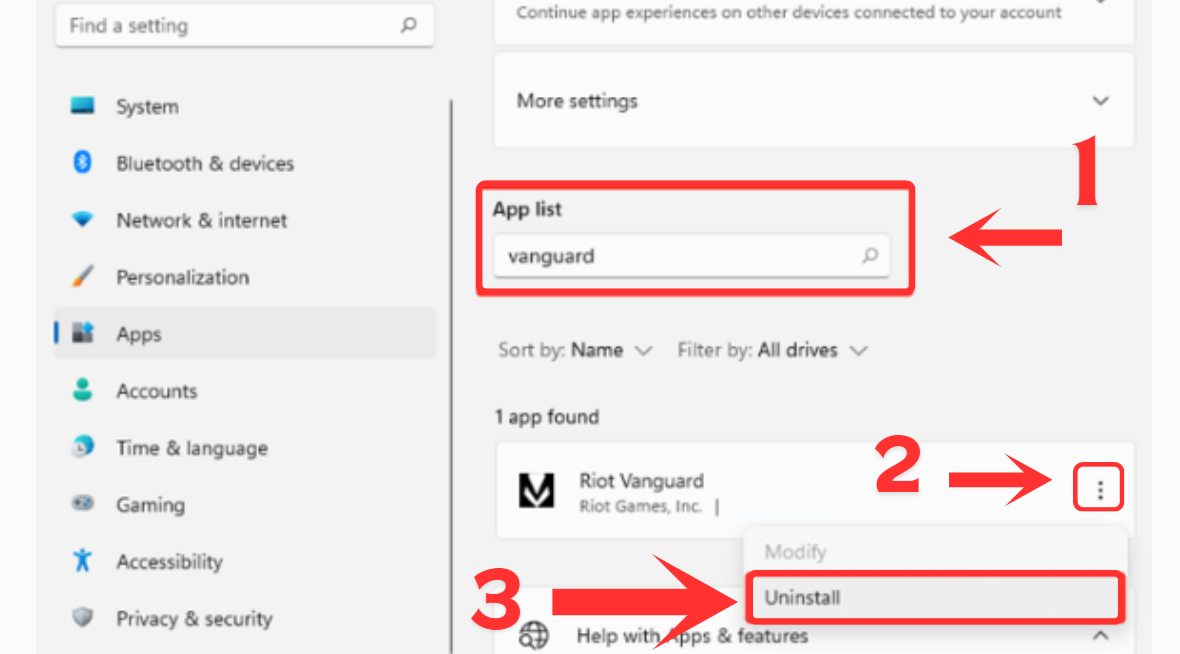
  4. Type "Riot" in the search bar to find Riot Vanguard quickly.

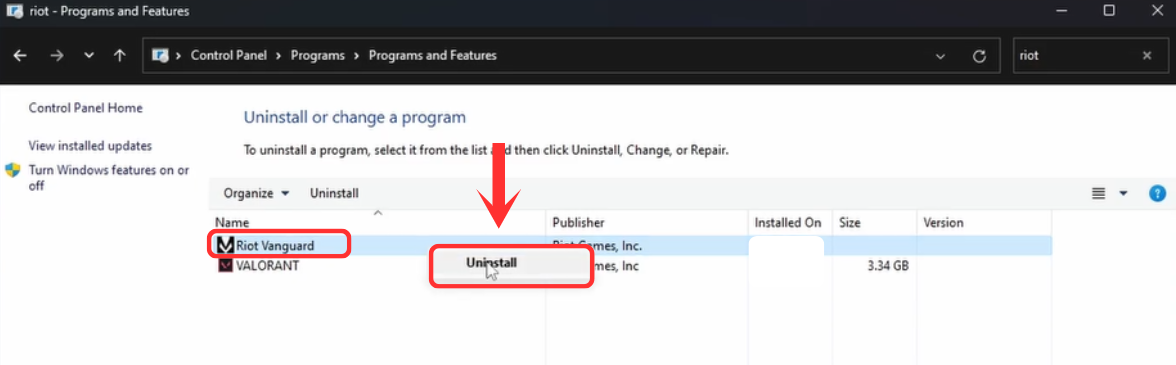
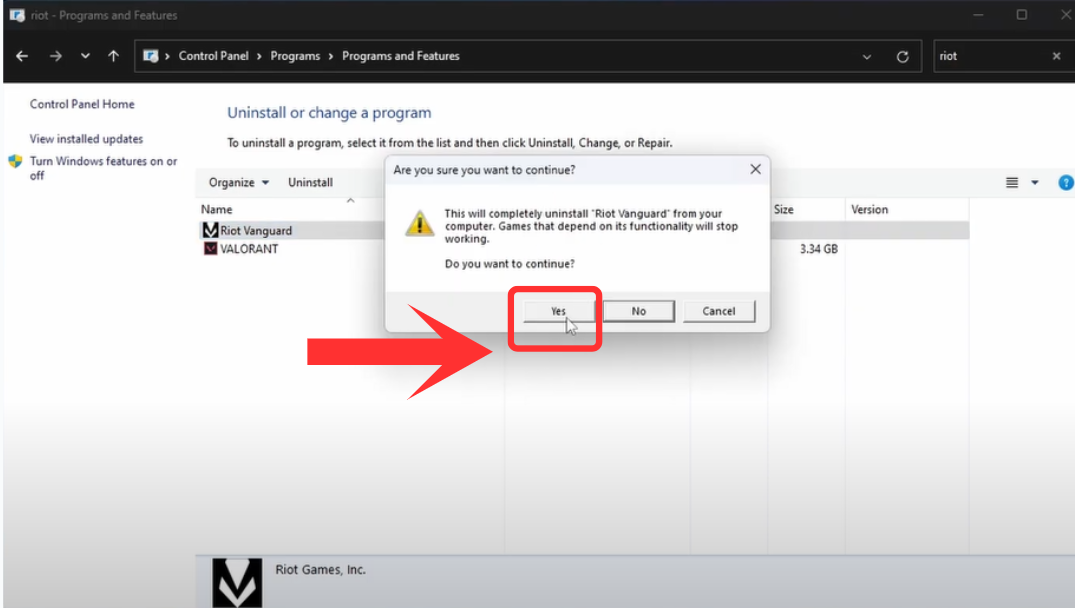
  5. Right-click on Riot Vanguard and choose "Uninstall"

  6. Just follow the on-screen steps to finish uninstalling.

  7. Restart your PC to make sure Vanguard is completely gone.

  8. Uninstall Valorant


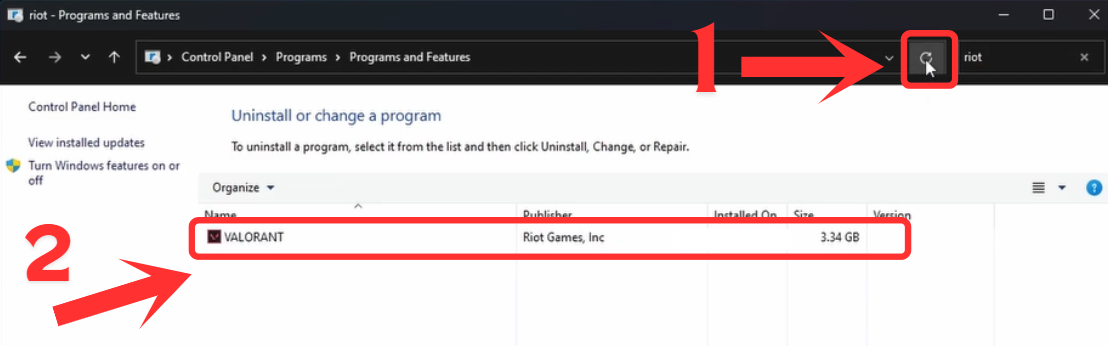
  9. Now After restarting, open the Control Panel again.

  10. Head to "Uninstall a Program" like did for before.

  11. Find "Valorant" in the list or use the search bar to locate it. (As shown)

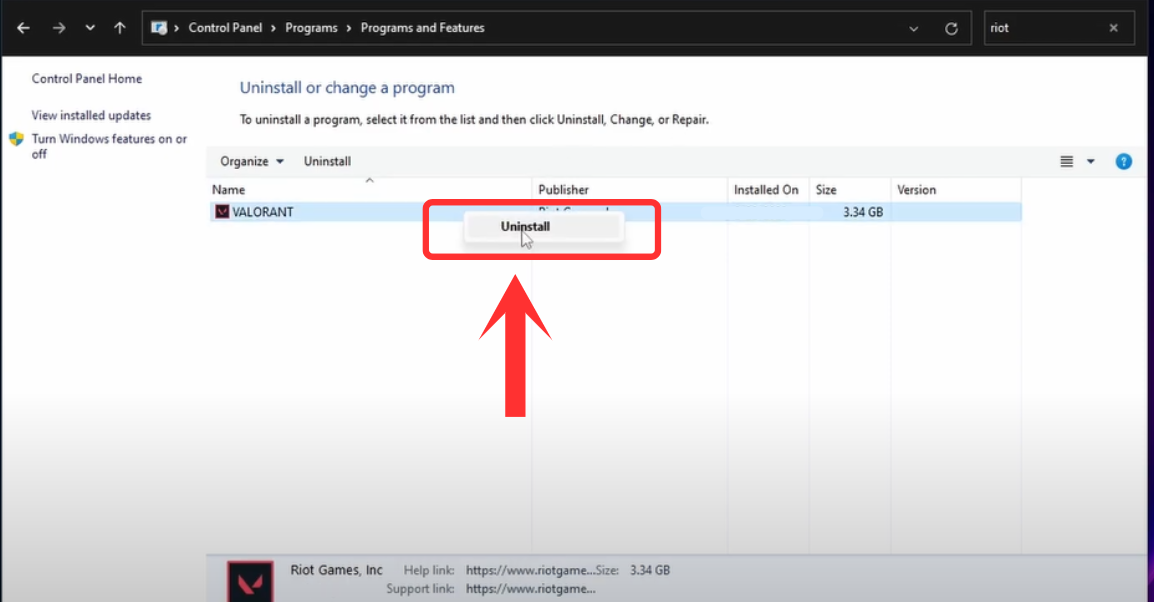
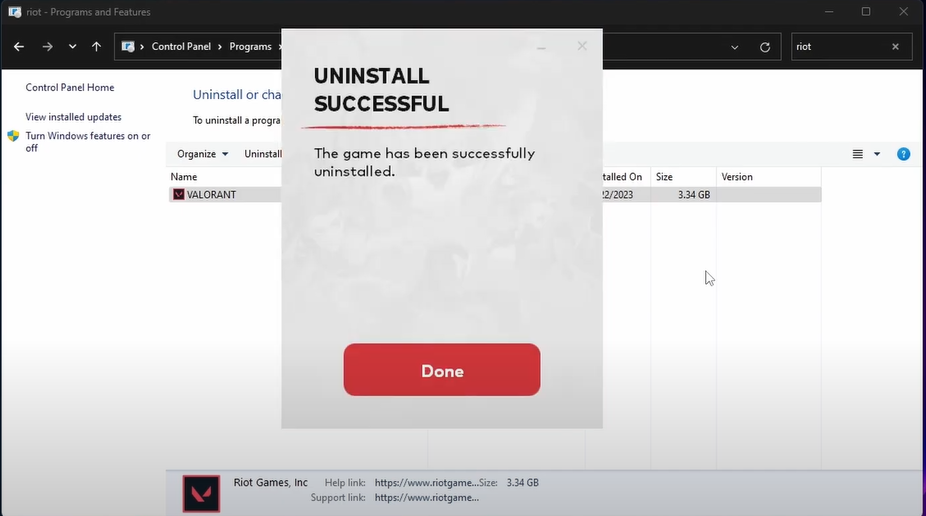
  12. Right-click Valorant and then select "Uninstall" .

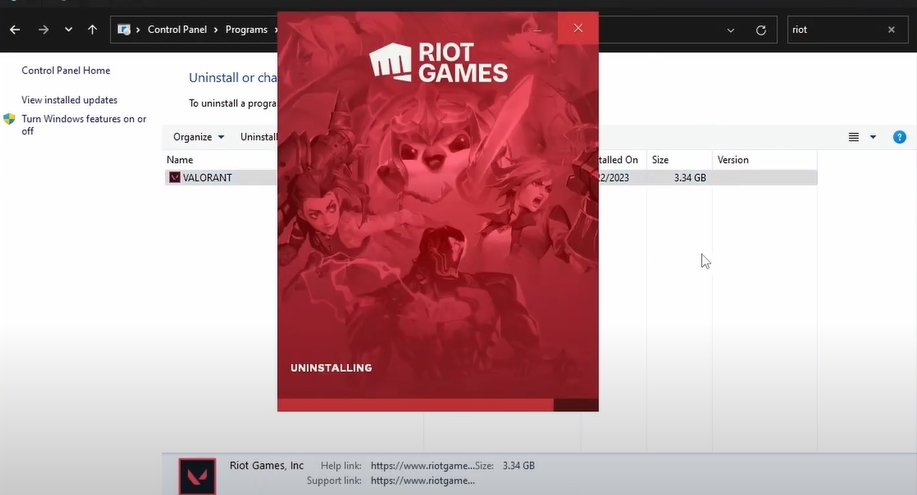
  13. Now, your Valorant uninstalled in no time.