 Method 1
Overview
Drivers play a critical role in camera performance. Optimizing them can drastically improve clarity and fix flickering.
Method 1 of 5
Next Method
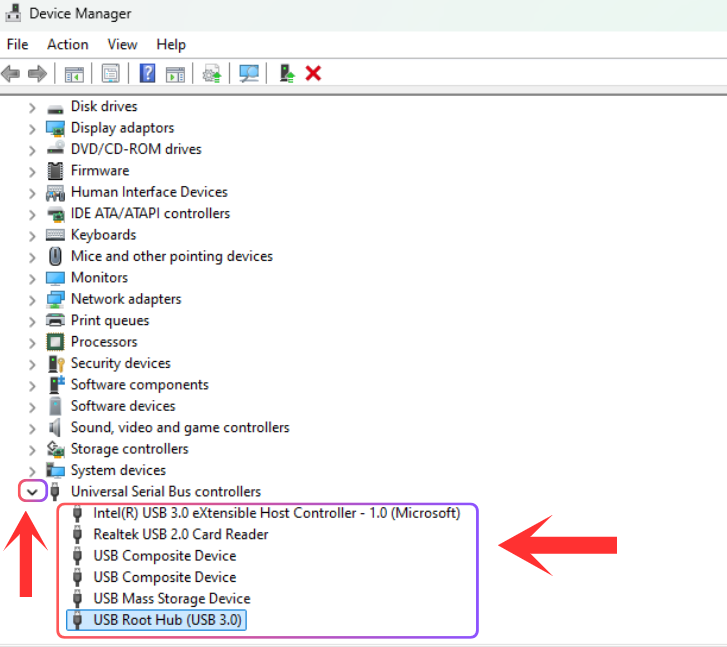
Open Device Manager
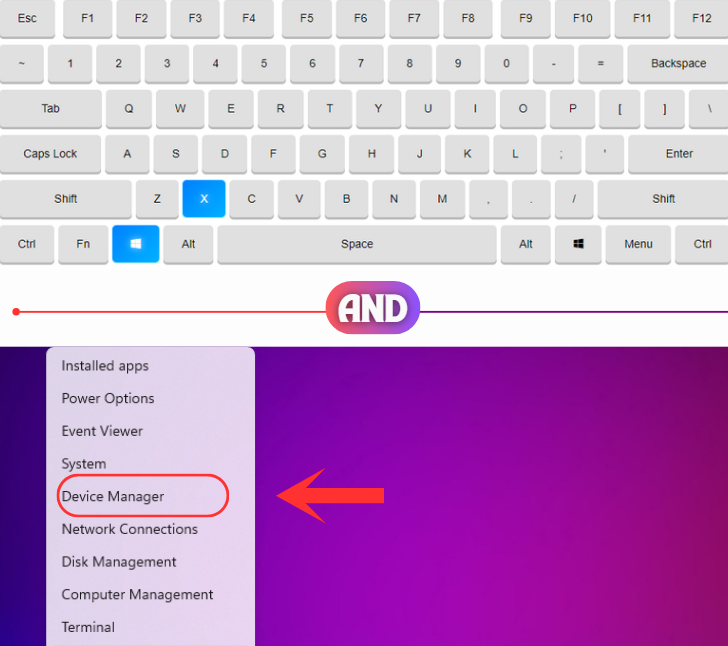
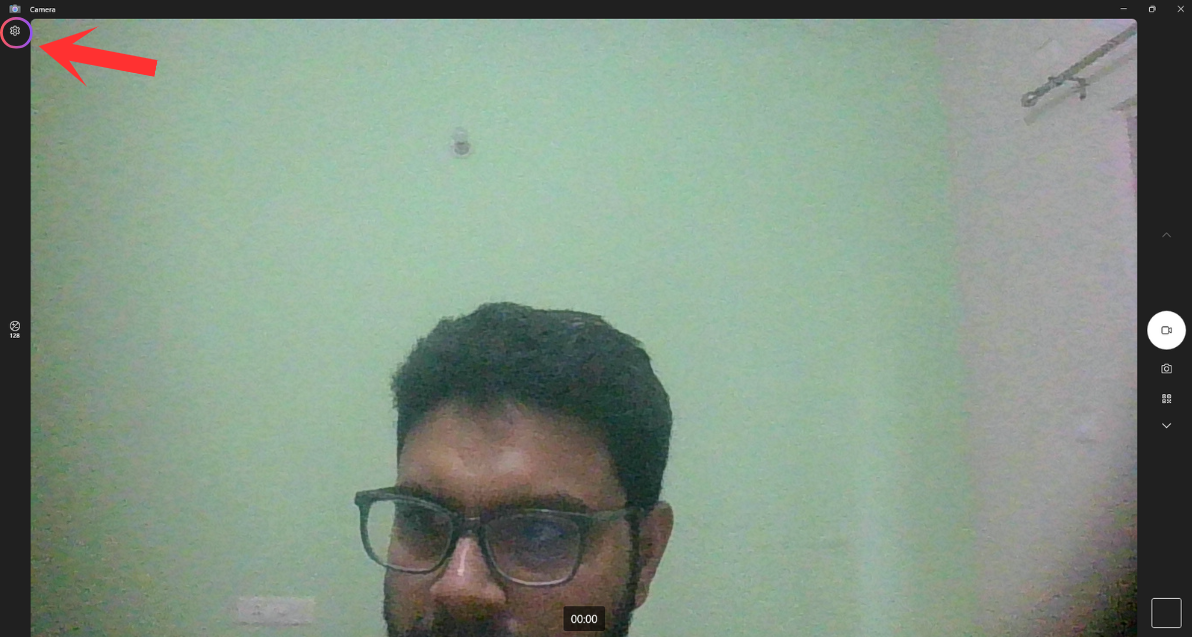
Press Win + X, then select Device Manager.
Method 1 of 5
Step 1 of 3
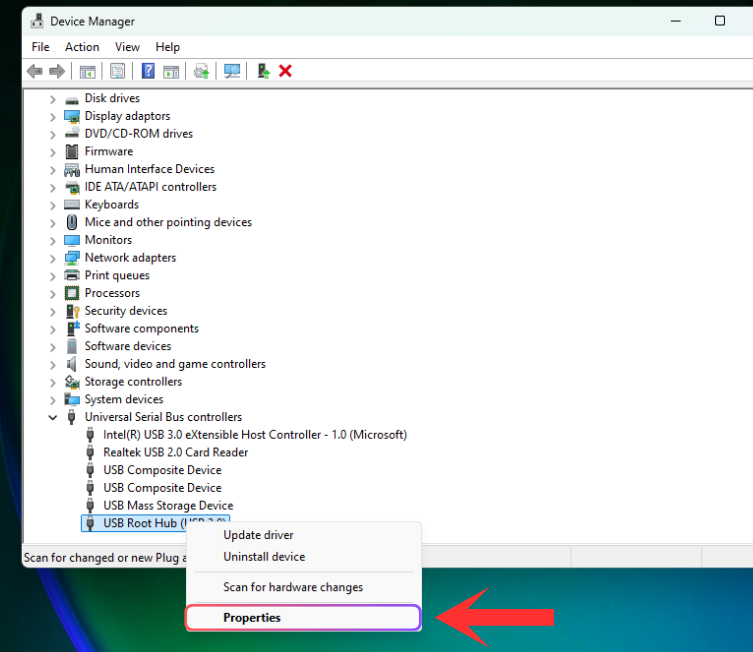
Find Your Camera
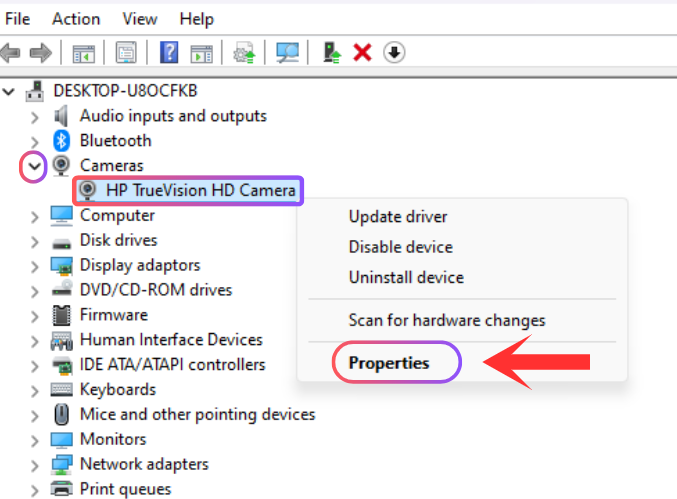
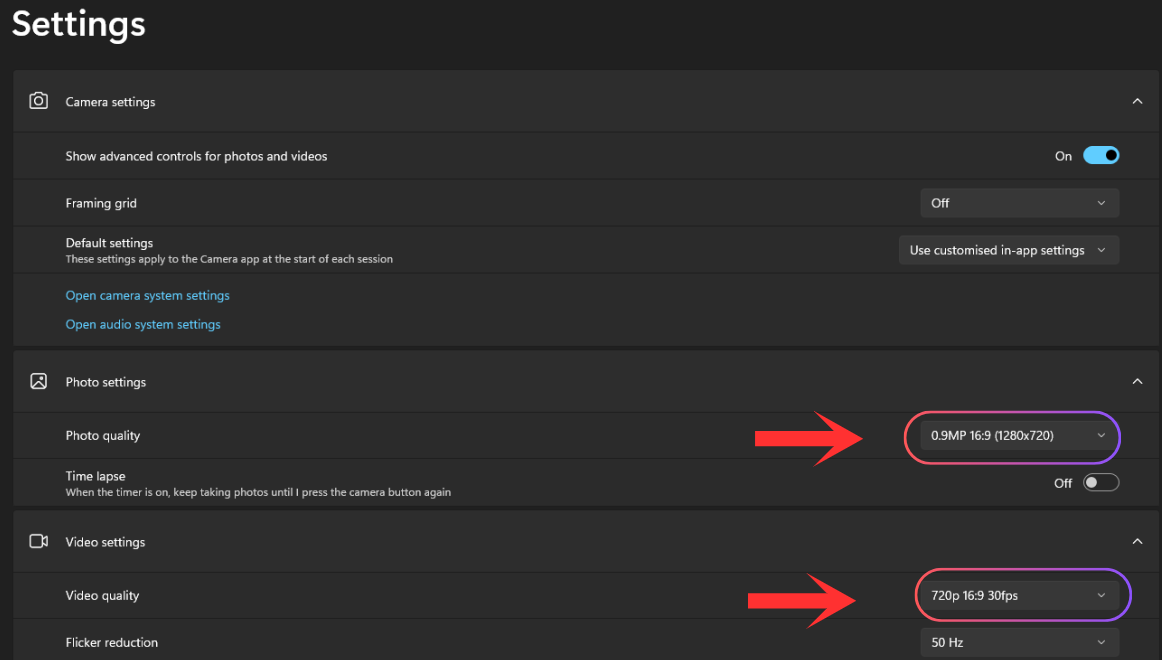
Expand Imaging Devices, right-click your camera, and select Properties.
Method 1 of 5
Step 2 of 3
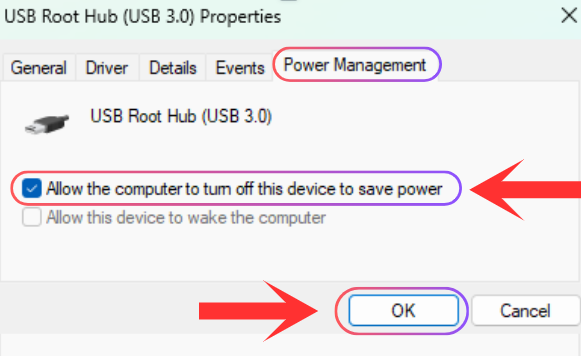
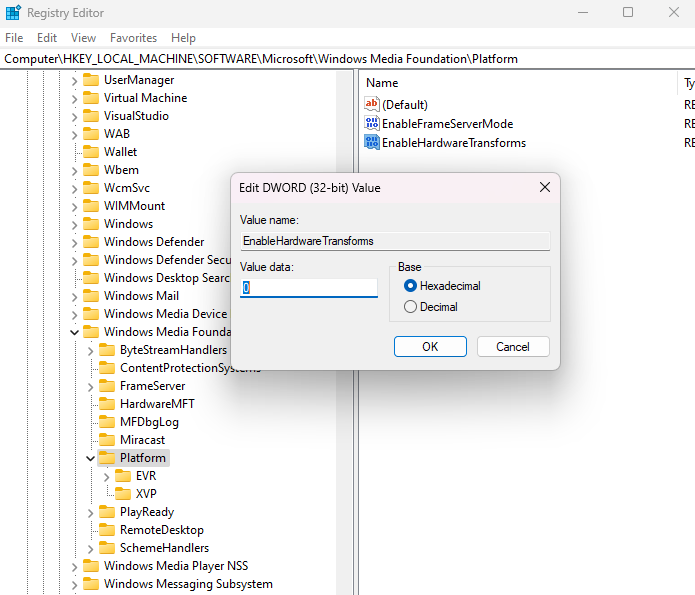
Advanced Settings
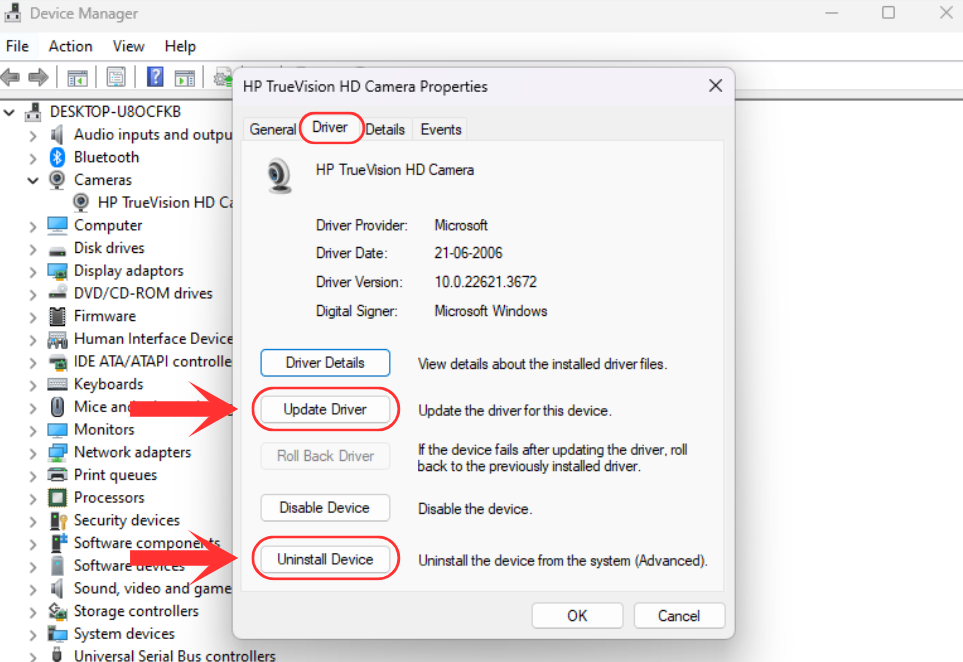
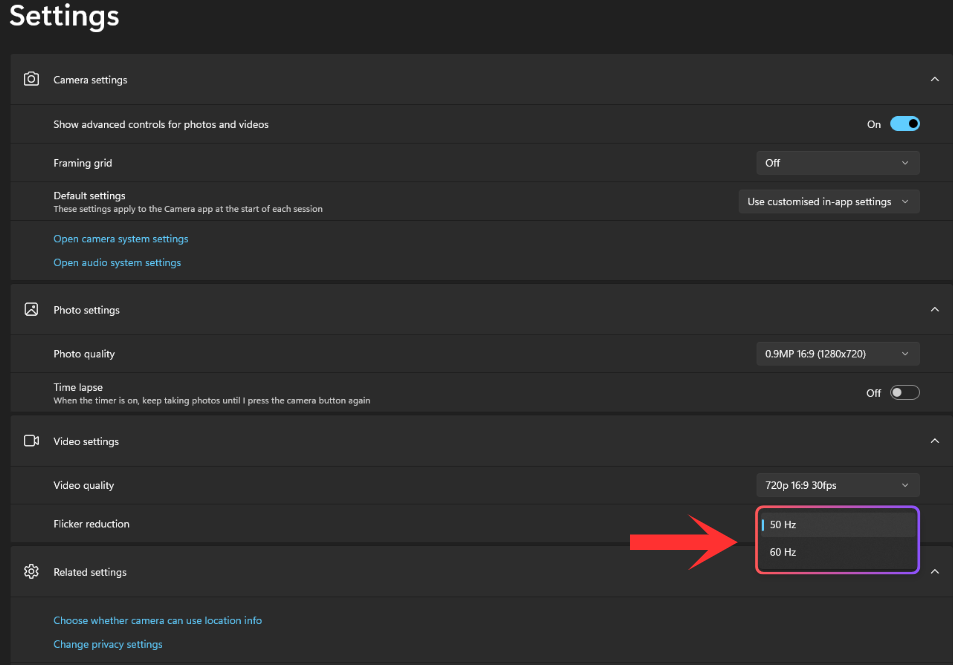
Under the Driver tab, click on Update Driver.
Warning: If you've recently updated your Windows and the camera has started blurring or flickering, uninstall the camera driver and reinstall it.
Method 1 of 5
Step 3 of 3


.webp)