 Method 1
This should always be your first choice. It's a reliable tool that comes with Windows and is designed for basic disk operations.
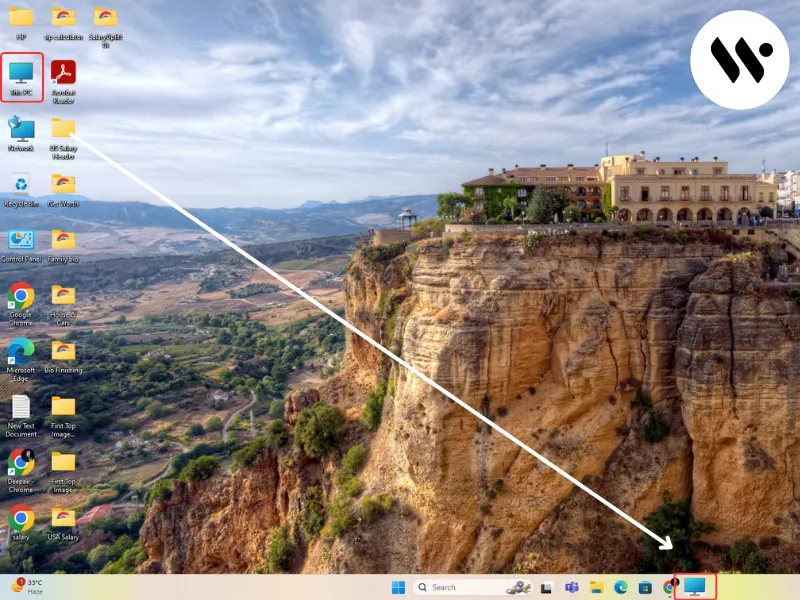
Right-click Start Button
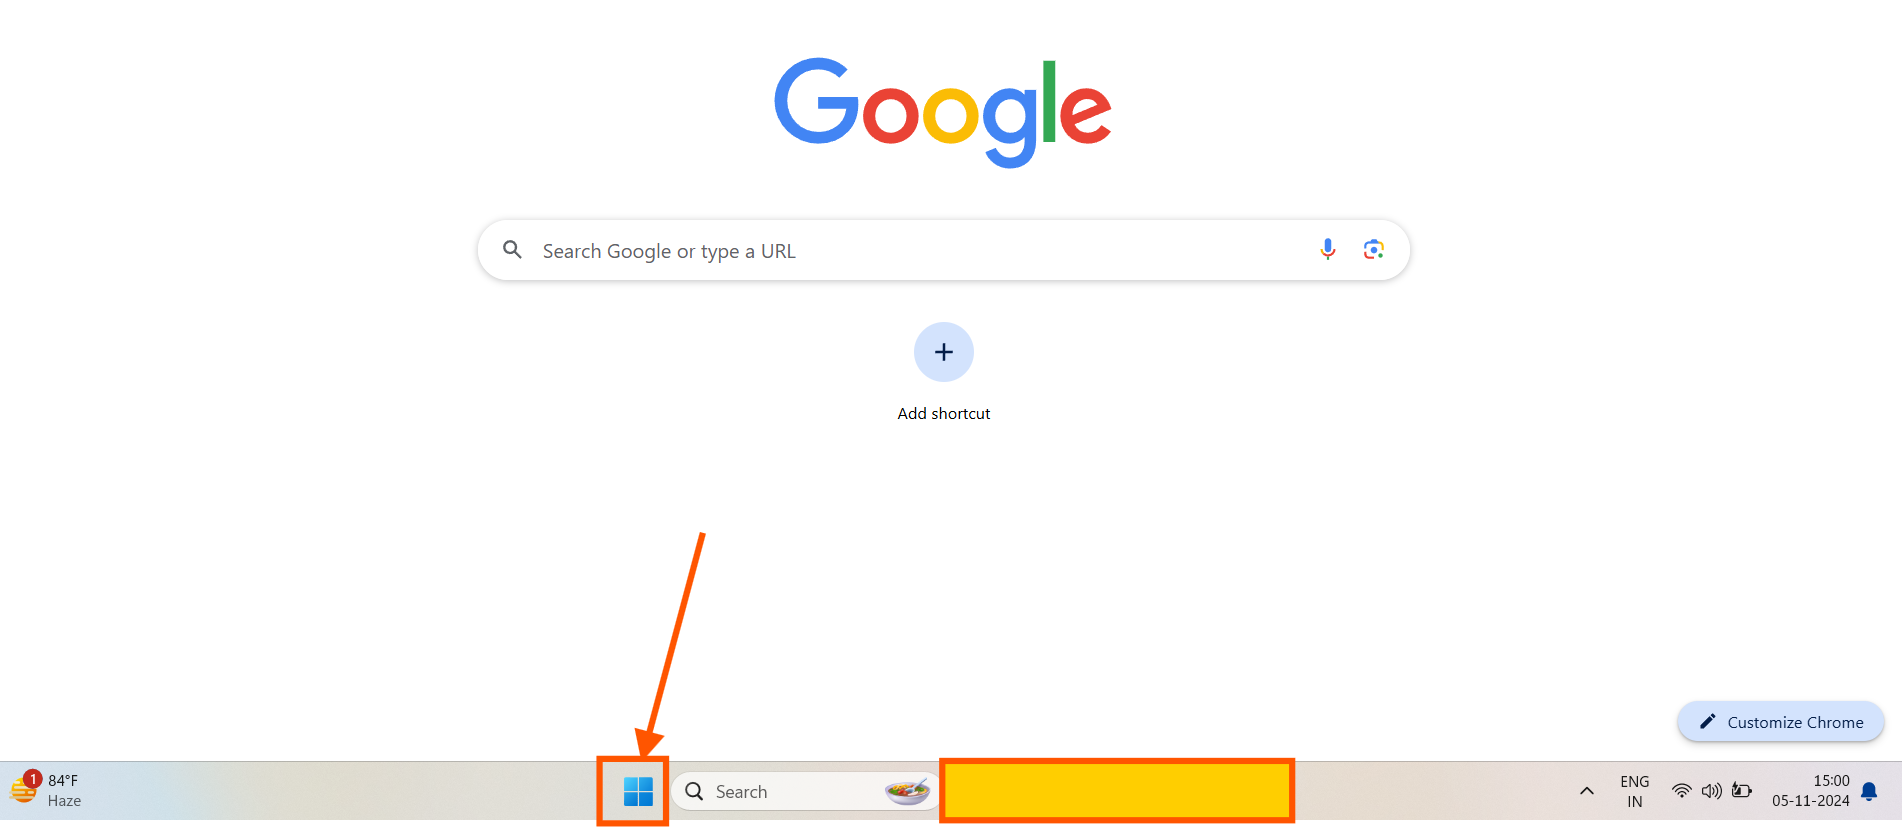
This will open a menu with various system options.
Select Disk Management

Click Disk Management to open the tool for managing partitions.
Locate the Disk
In the Disk Management window, find the hard disk you want to partition
Right-click on the Partition to Shrink
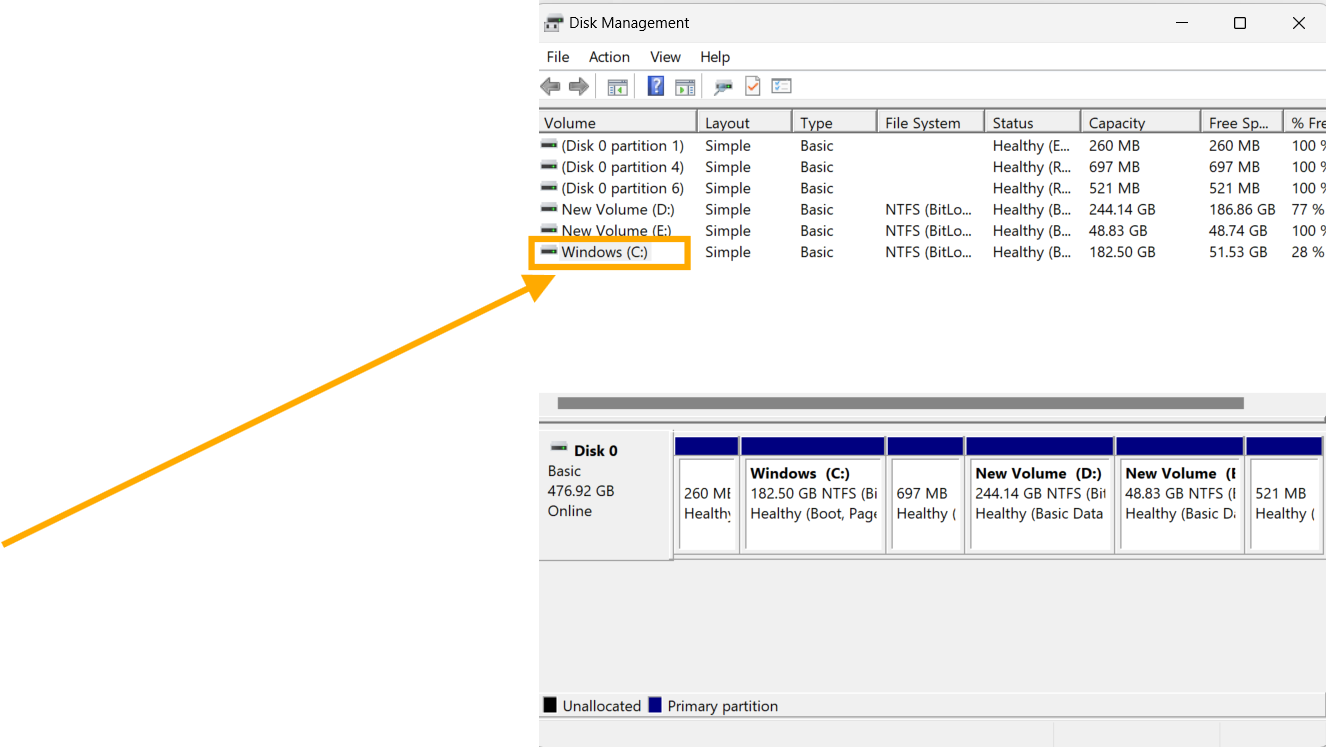
Right-click on the partition to shrink (usually C: drive).
Select Shrink Volume
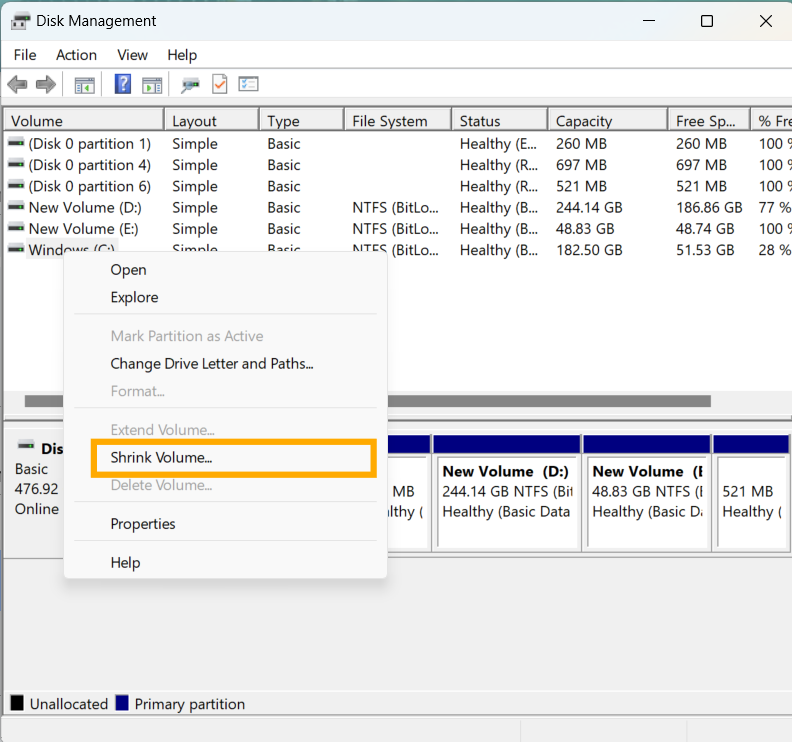
Choose Shrink Volume from the menu.
Amount of Space to Shrink
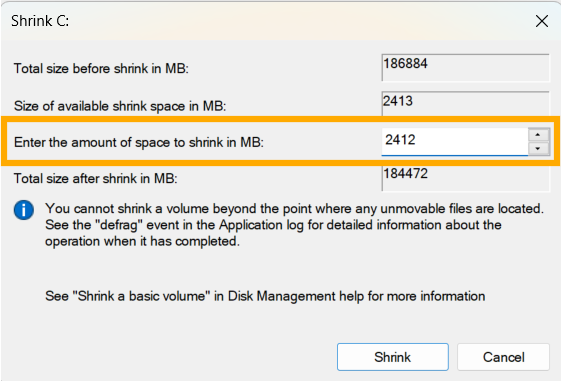
Enter the amount of space you want to shrink (in MB).
Click Shrink
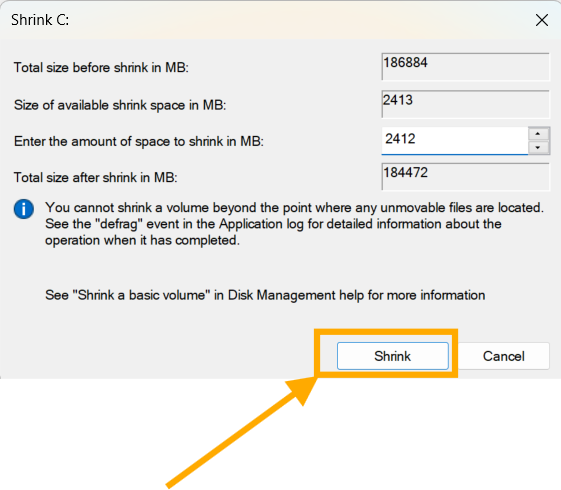
Click Shrink to create unallocated space.
Create a New Partition
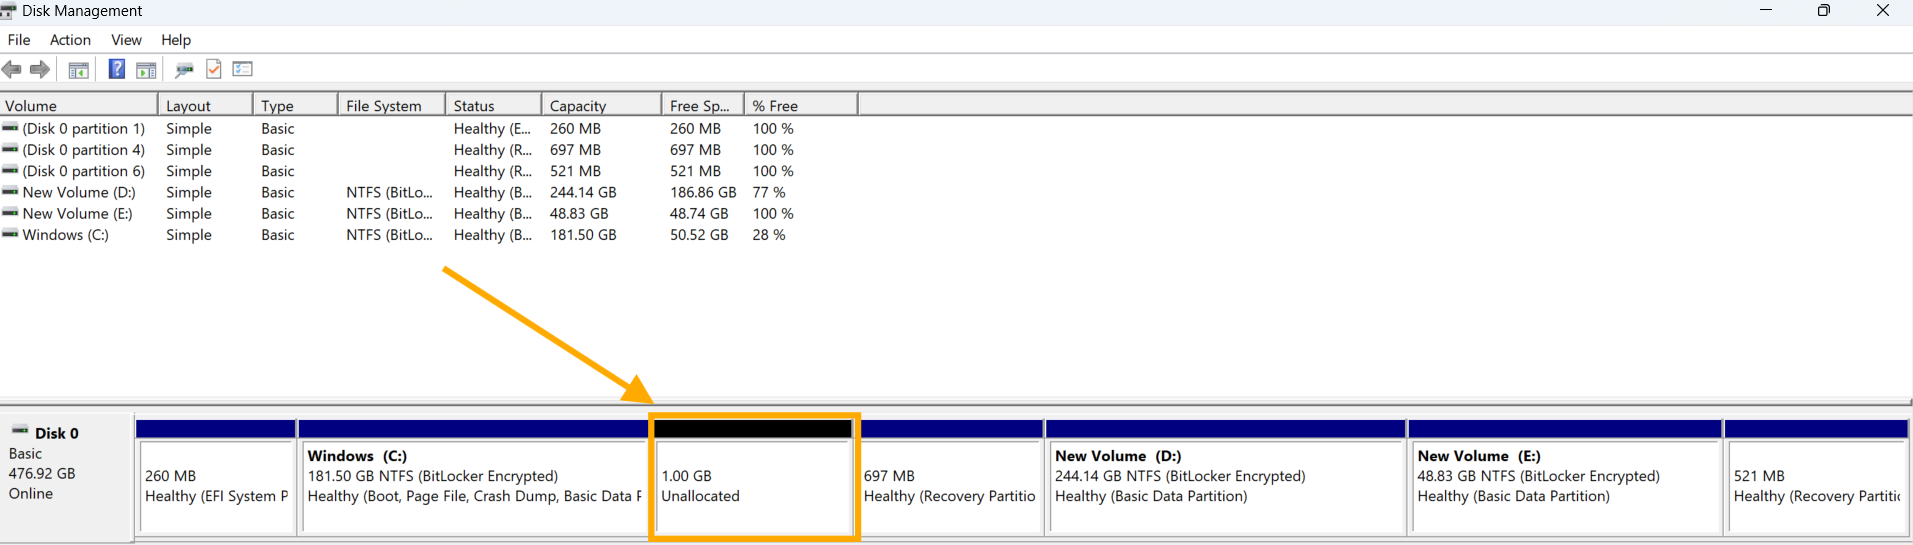
Right-click on the unallocated space created.
Select New Simple Volume

Choose New Simple Volume to start the partition setup
Follow the Wizard
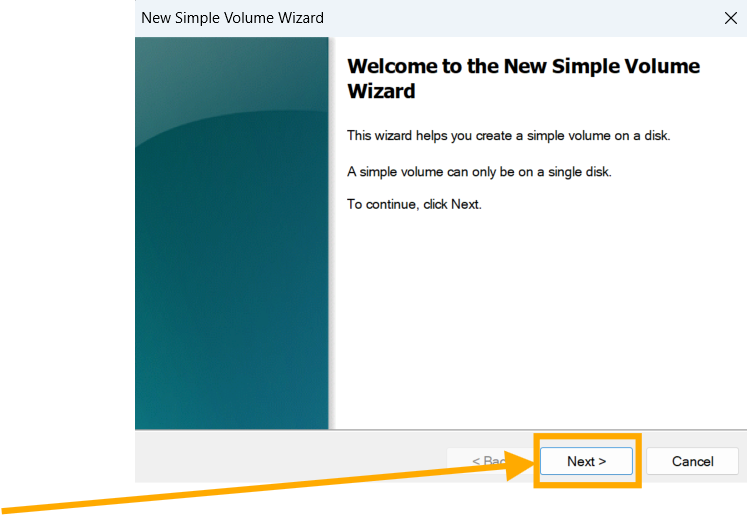
Follow the on-screen instructions
Assign a drive letter.
Format the partition (typically NTFS).
Label the partition.
Finish the Process

The new partition will now be available in File Explorer
Caution: If available shrink space is much less than free space, unmovable system files cause it.

.webp)

.webp)