WINDOWS 11

How to Record Your Screen in Windows 11 Using Snipping Tool

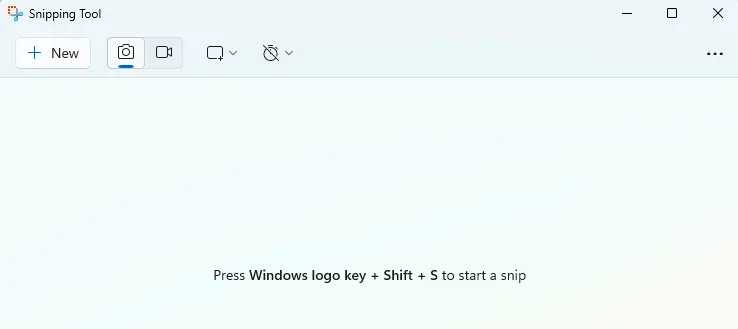
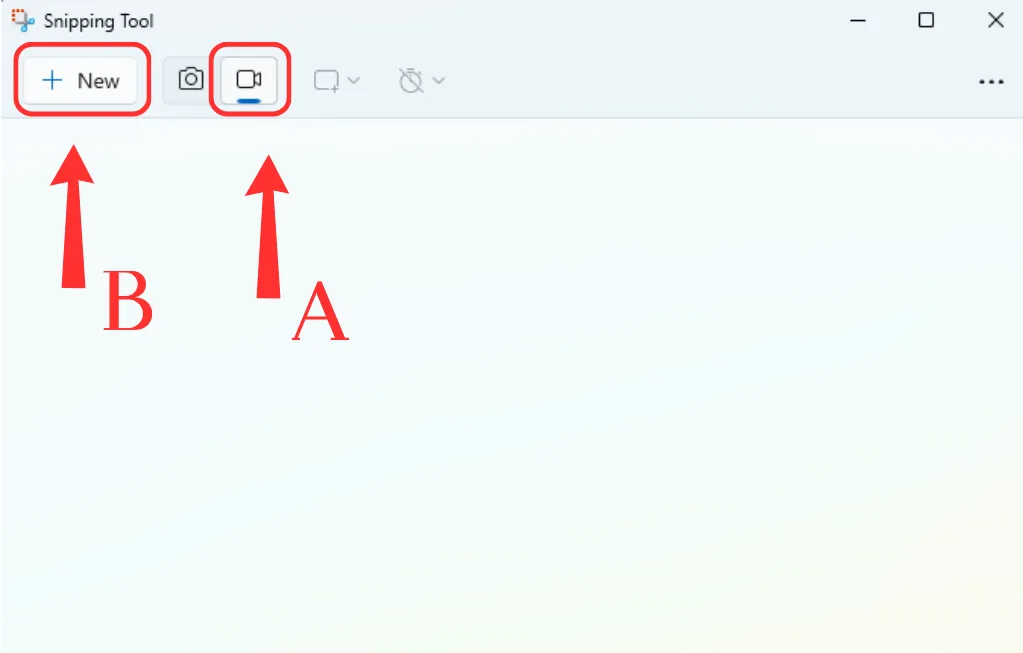
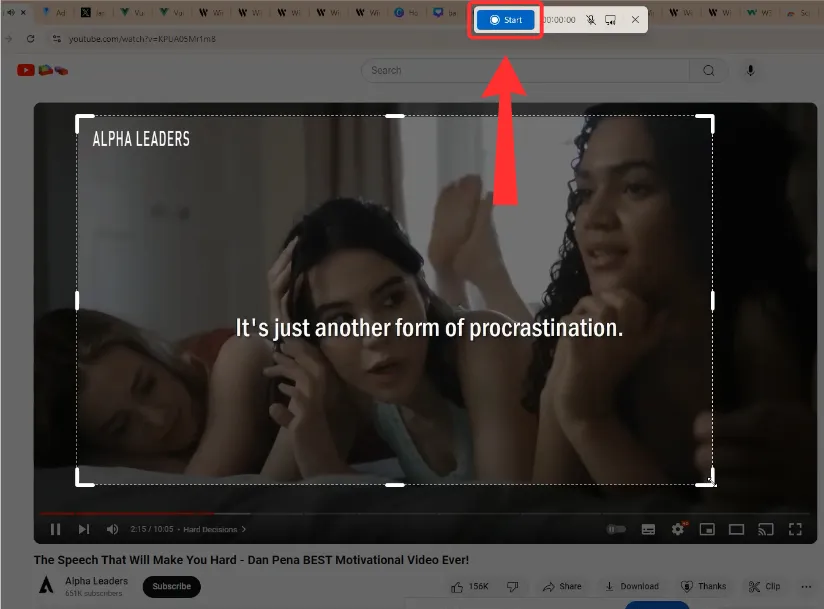
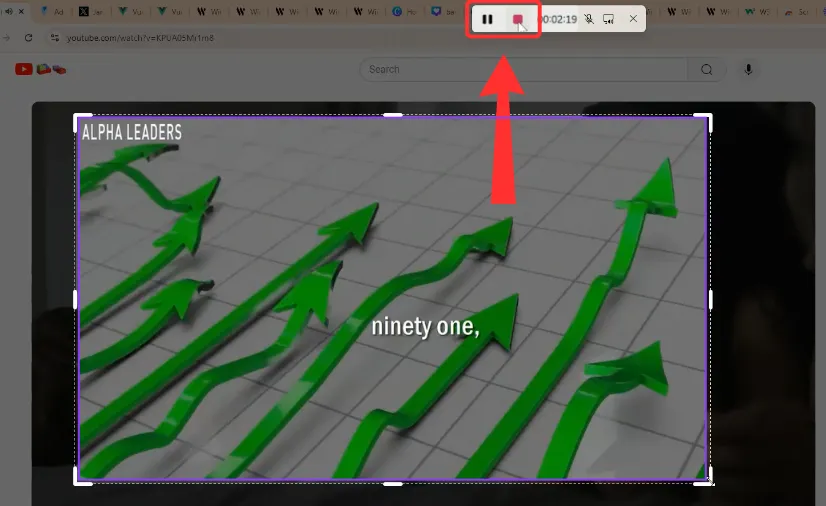
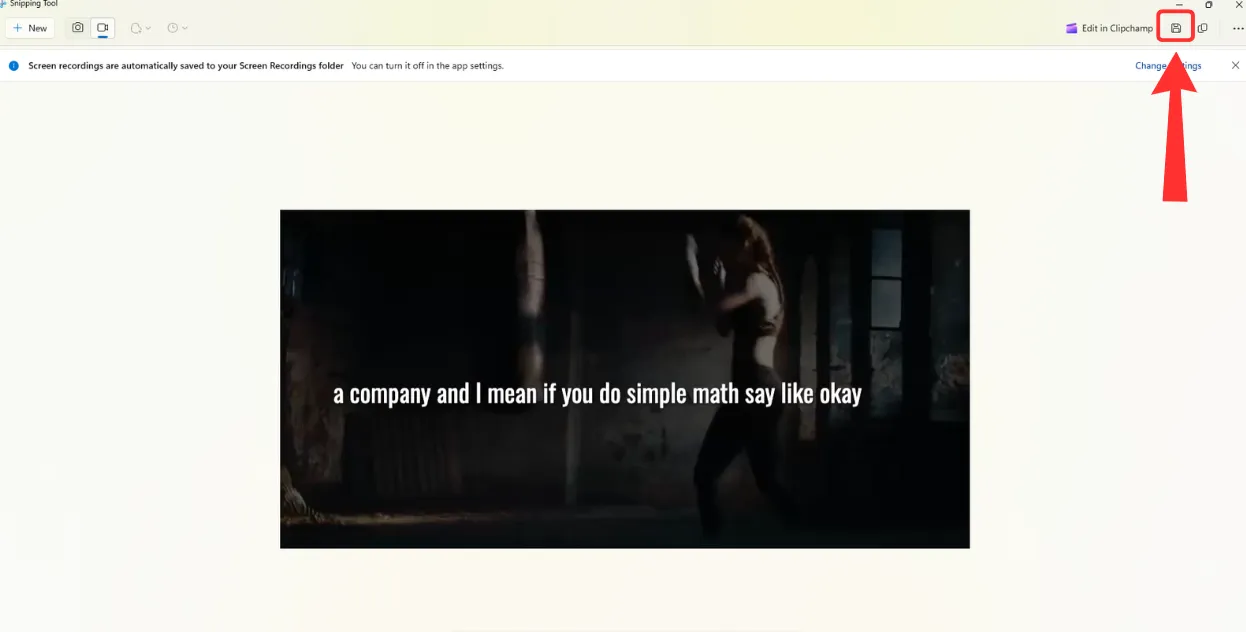
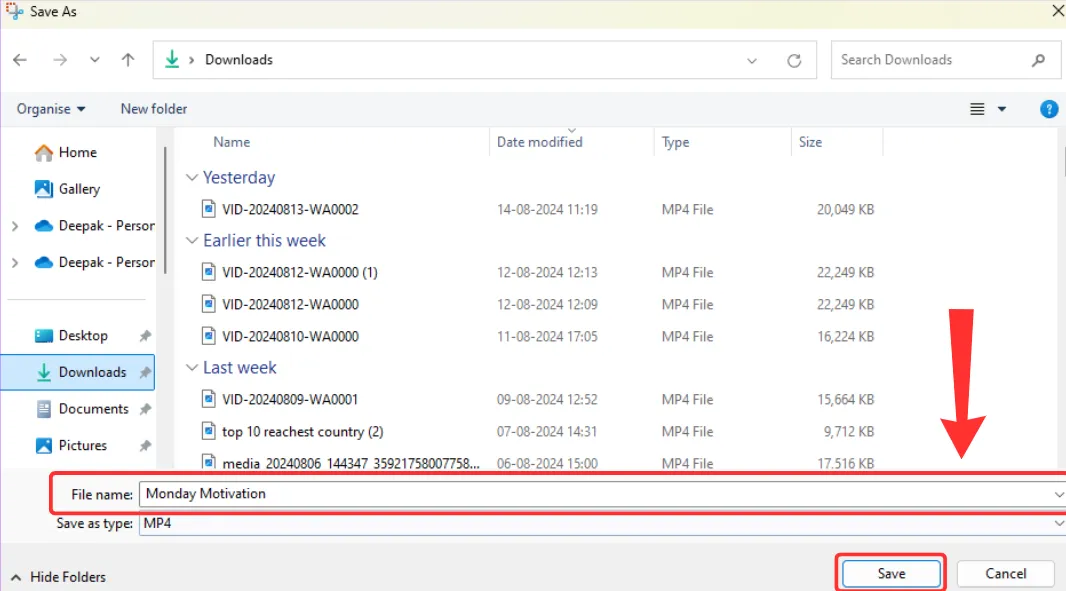
This guide explains how to record your screen using the Snipping Tool in Windows 11. It covers opening the tool, selecting the recording area, starting and controlling the recording, and saving the file. You will also learn how to customize autosave settings and change the default save location.

Deepak Yadav

11/29/2024 02:33:49
Open Snipping Tool
Open Snipping Tool
  • Press Windows + Shift + S

  • or
  • Press prt sc

  • or
  • Search "Snipping Tool" in the Start menu
Open Snipping Tool
Select Recording Area

Draw a shape to select the recording area:

  • Rectangular selection

  • or
  • Freeform selection

  • or
  • Full-screen capture
Open Snipping Tool
Select Record Option

Click the "Record" button in the Snipping Tool.

Open Snipping Tool
Start Recording

Click "Start" to begin recording. A 3-2-1 countdown will appear.

Open Snipping Tool
Control Recording
  • Pause: Temporarily stop recording

  • or
  • Resume: Continue recording

  • or
  • Stop: End the recording

  • or
  • Mic: Mute / Unmute sound

  • or
  • Discard: Cancel the recording
Open Snipping Tool
Save Recording

Screen recordings are automatically saved to your Screen Recordings folder.

Open Snipping Tool
Change Recordings folder
  • Click on change setting.

  • and
  • Disable the Autosave Options.
Open Snipping Tool
Save Recording Manually

Click on save icon

Preview and Save
Add File Name

Add your file name, and click on save button.