Method 1
Follow these steps to reset your network adapter and resolve connectivity issues.
 Step 1
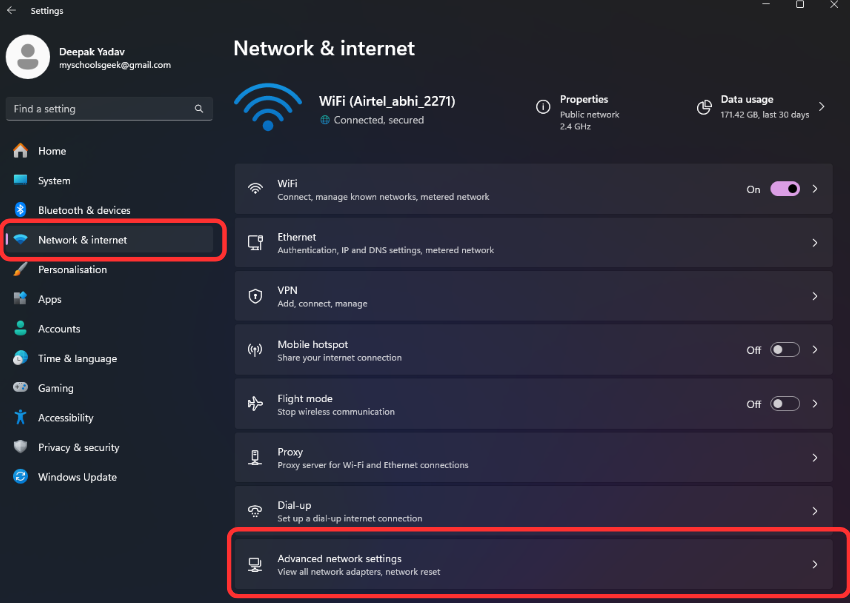
Access Advanced Network Settings
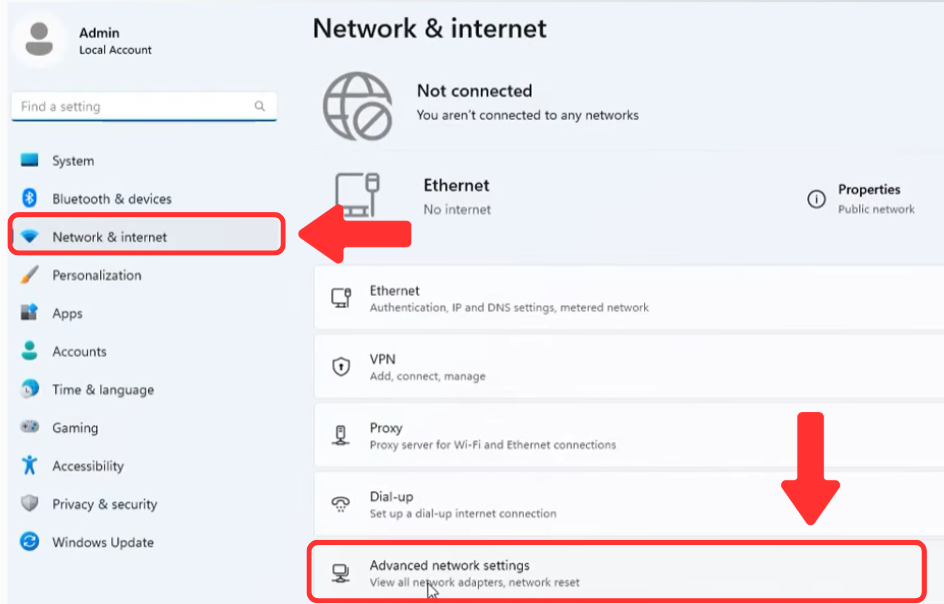
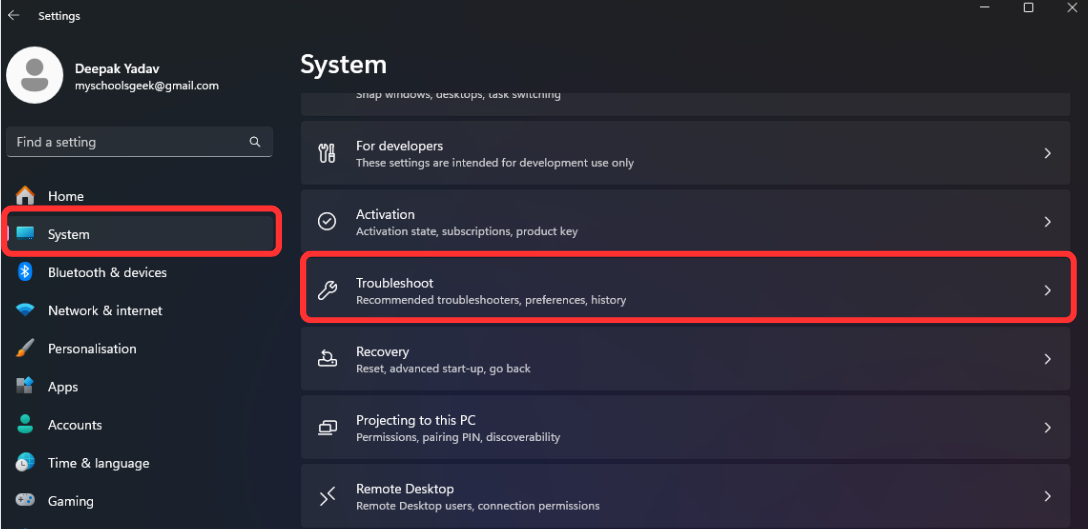
Press Win + I to open Settings.
Navigate to Network & internet.
Click on Advanced network settings.
Open Network Adapter Options
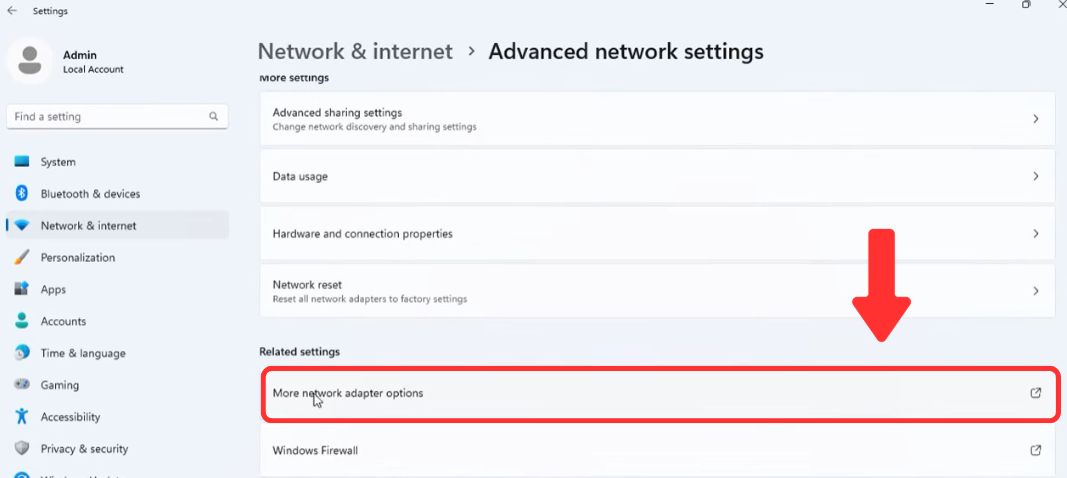
Scroll down and click More network adapter options.
A new window titled Network Connections will open.
Open Adapter Properties
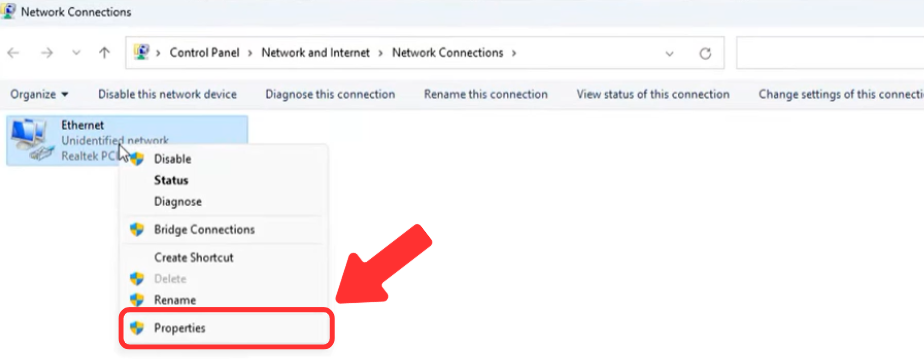
Locate your active network adapter (e.g., Ethernet or Wi-Fi).
Right-click the adapter and select Properties.
 Step 4
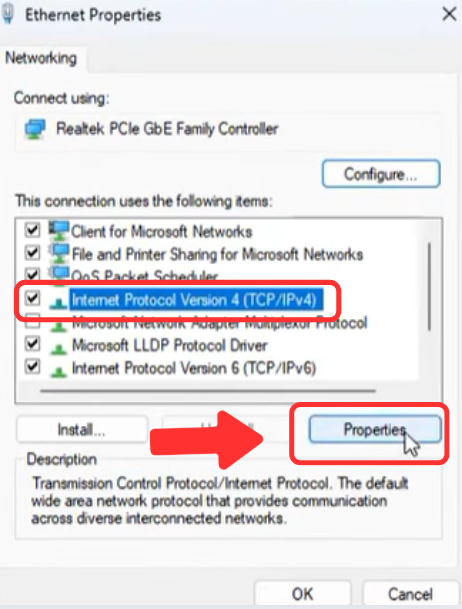
Configure IPv4

Settings In the Properties window, find and select Internet Protocol Version 4 (TCP/IPv4). Click Properties. In the new window: - Select Obtain an IP address automatically. - Select Obtain DNS server address automatically.
Click OK, then Close.
Restart Your Network Connection

Go back to the Network Connections window.
Right-click on the network adapter and select Disable. Wait a few seconds, then right-click again and select Enable.
Check if the issue is resolved.
Caution: If your network uses a static IP, enter the correct IP, Subnet Mask, and Gateway provided by your ISP in the IPv4 settings to ensure a stable connection.


.webp)

.webp)

.webp)