WINDOW 11

How to On or Off Windows 11 Hardware Accelerated GPU Scheduling (HANGS)

2 SOLUTIONS
JUNE 23, 2025

Hardware-Accelerated GPU Scheduling (HAGS) in Windows 11 shifts graphics task management from the CPU to the GPU to reduce latency and boost performance. This guide discusses when to enable it, system requirements, and its real-world impact, helping users optimize their setup based on their hardware and usage.

Deepak Yadav
Deepak Yadav

GPU

NVIDIA GTX 10-series+, AMD RX 5600+, or Intel Arc B-series only.

Driver

Latest WDDM 2.7+ drivers; use DDU to clean old ones before updating.

Windows

Windows 11 or Windows 10 version 2004 (20H1) or newer.

Advertisement

How to Enable or Disable HAGS in Windows 11

3 STEPS EASY 2 MIN

1/2

METHOD
Method 1
Overview

This is the most reliable way, and it works across all the latest Windows 11 builds.

Method 1 of 2
Next Method

Open Settings  Open Graphics Settings

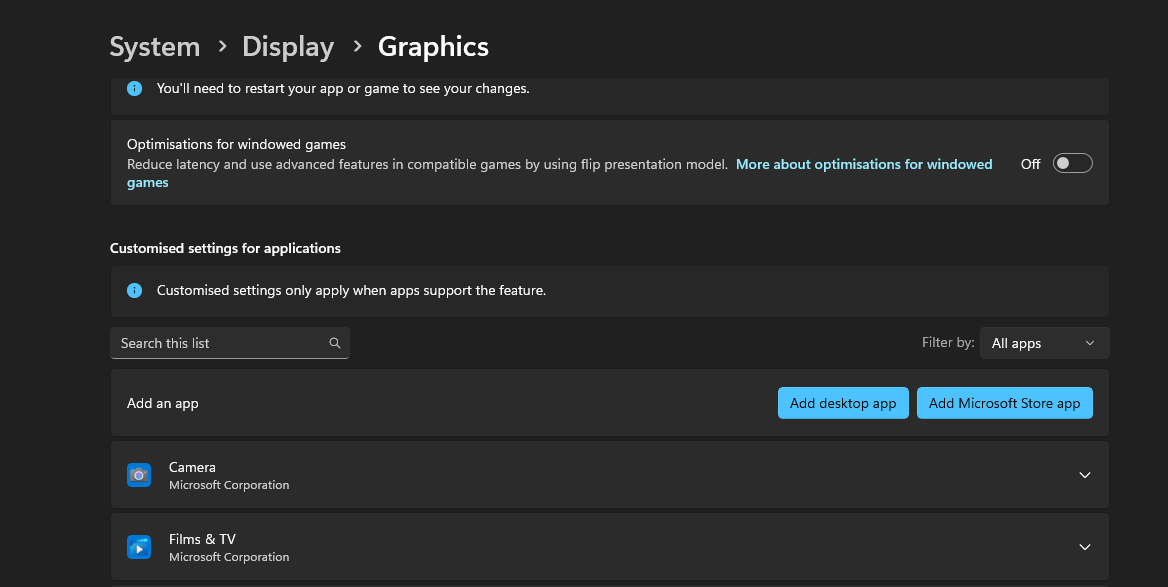
Press Windows + I or right-click Start → click Settings

Navigate to System → Click Display

Scroll to bottom → Click Graphics(May appear as Advanced Graphics Settings or under Related Settings)

Method 1 of 2
Step 1 of 3

Change Default Graphics Settings

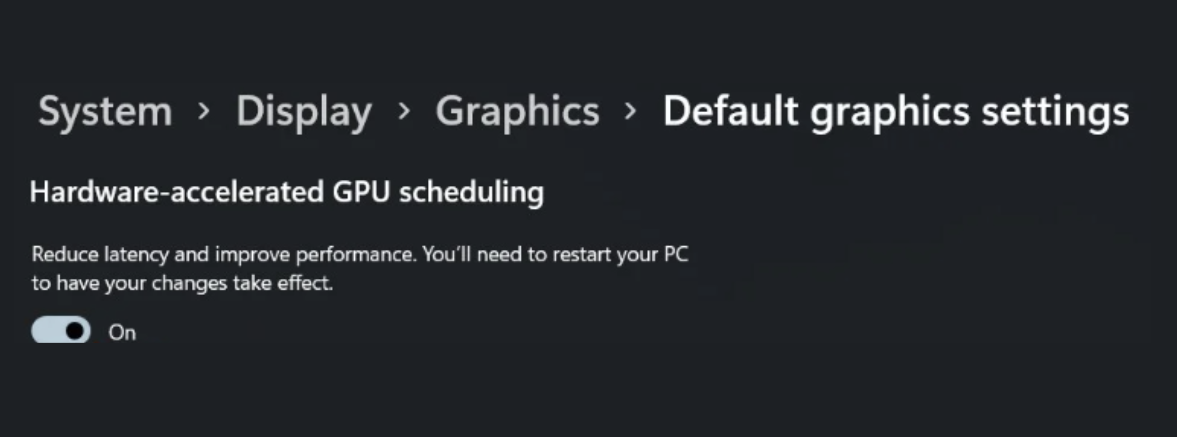
Click Change default graphics settings

Toggle Hardware-accelerated GPU scheduling On or Off

Method 1 of 2
Step 2 of 3

Restart Your PC 

This step is required for the change to take effect

Method 1 of 2
Step 3 of 3
Advertisement

Advanced Option: Use Registry Editor (If GUI Toggle is Missing)

4 STEPS EASY 2 MIN

2/2

METHOD
Method 2
Overview

Only for advanced users or if the GUI toggle is missing.

Method 2 of 2

Open Registry Editor 

Press Win + R → type regedit → press Enter

Method 2 of 2
Step 1 of 4

Navigate to Registry Path 

Go to

HKEY_LOCAL_MACHINE\SYSTEM\CurrentControlSet\Control\GraphicsDrivers

Method 2 of 2
Step 2 of 4
Step 3

Create New DWORD 

Right-click in the right pane → NewDWORD (32-bit) ValueName it: HwSchMode

Method 2 of 2
Step 3 of 4

Set Value 

Double-click HwSchMode and set:2 = Enable HAGS1 = Disable HAGS

Tip: Always back up your registry or create a system restore point before making edits. This protects against boot failures or misconfigurations.

Method 2 of 2
Step 4 of 4

Methods (2)

How to Enable or Di...
3 Steps
Advanced Option: U...
4 Steps