WINDOWS 11
How to Restore Default Font in Windows 11
This guide offers a quick and straightforward method to restore the default font in Windows 11. Perfect for anyone looking to reset their system font without hassle.
This guide offers a quick and straightforward method to restore the default font in Windows 11. Perfect for anyone looking to reset their system font without hassle.
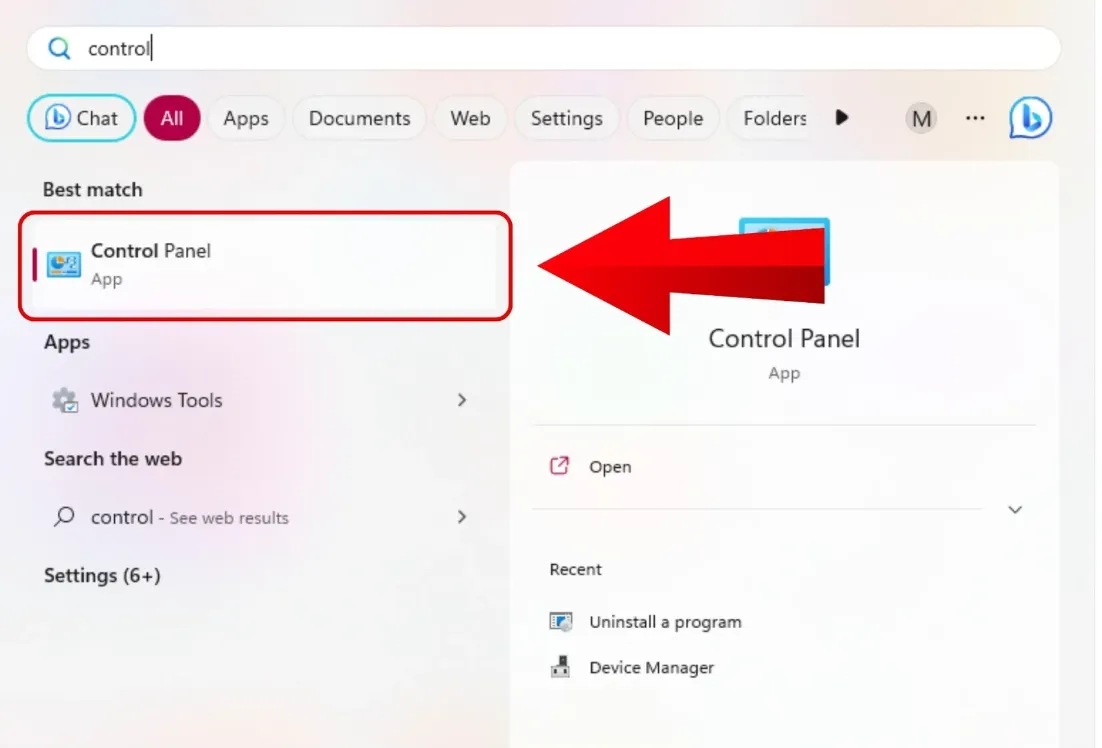
Open Control Panel (search for it in the Start menu)
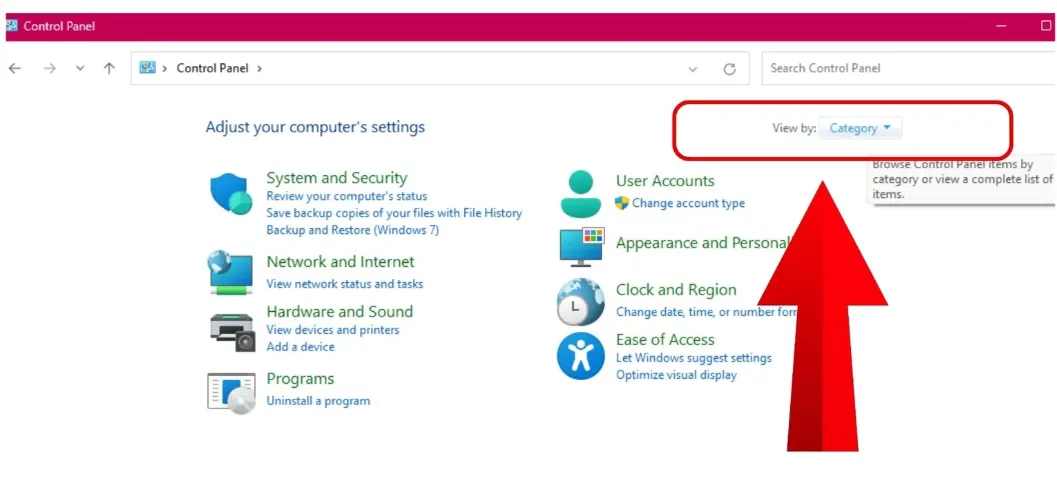
Set "View by" to Category and select Appearance and Personalization
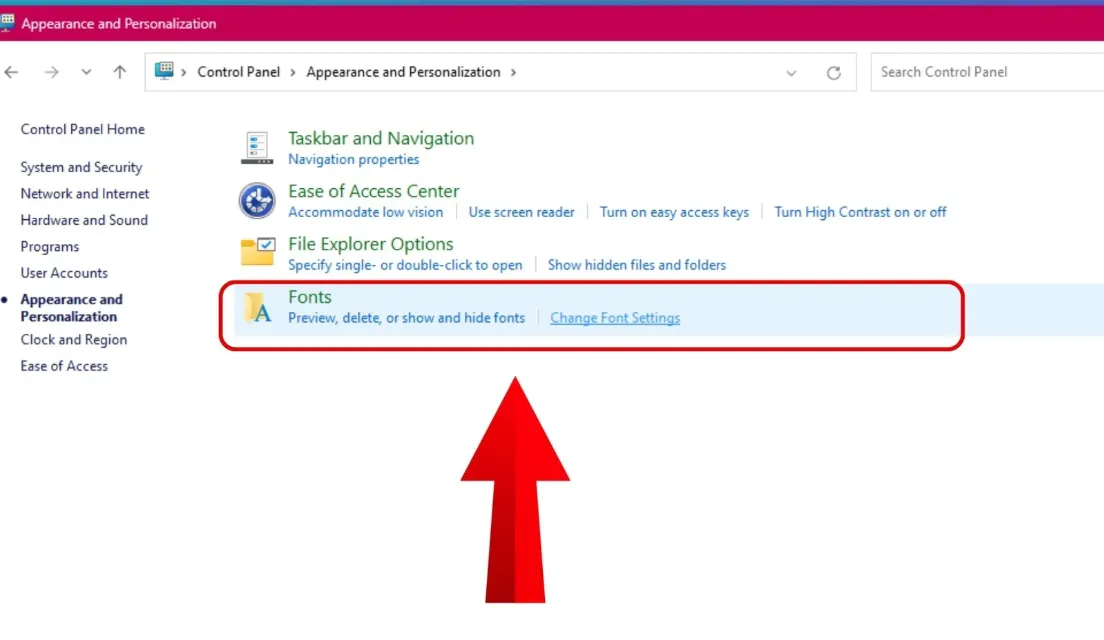
Click Change Font Settings and select Restore default font settings

Confirm by clicking Yes in the dialog box
Wait for Windows to restore default fonts (may take a few moments)
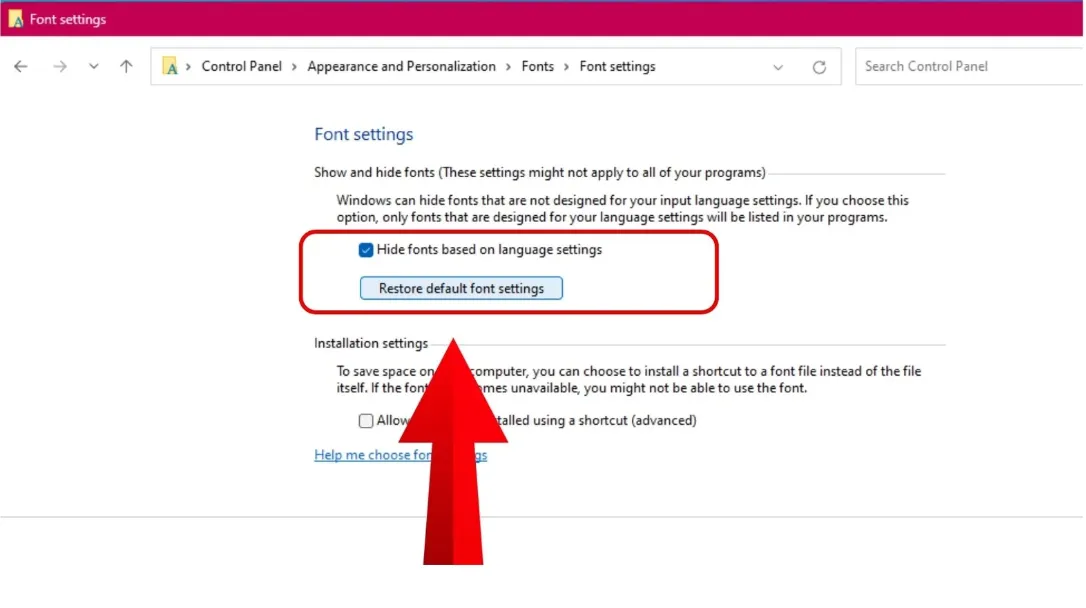
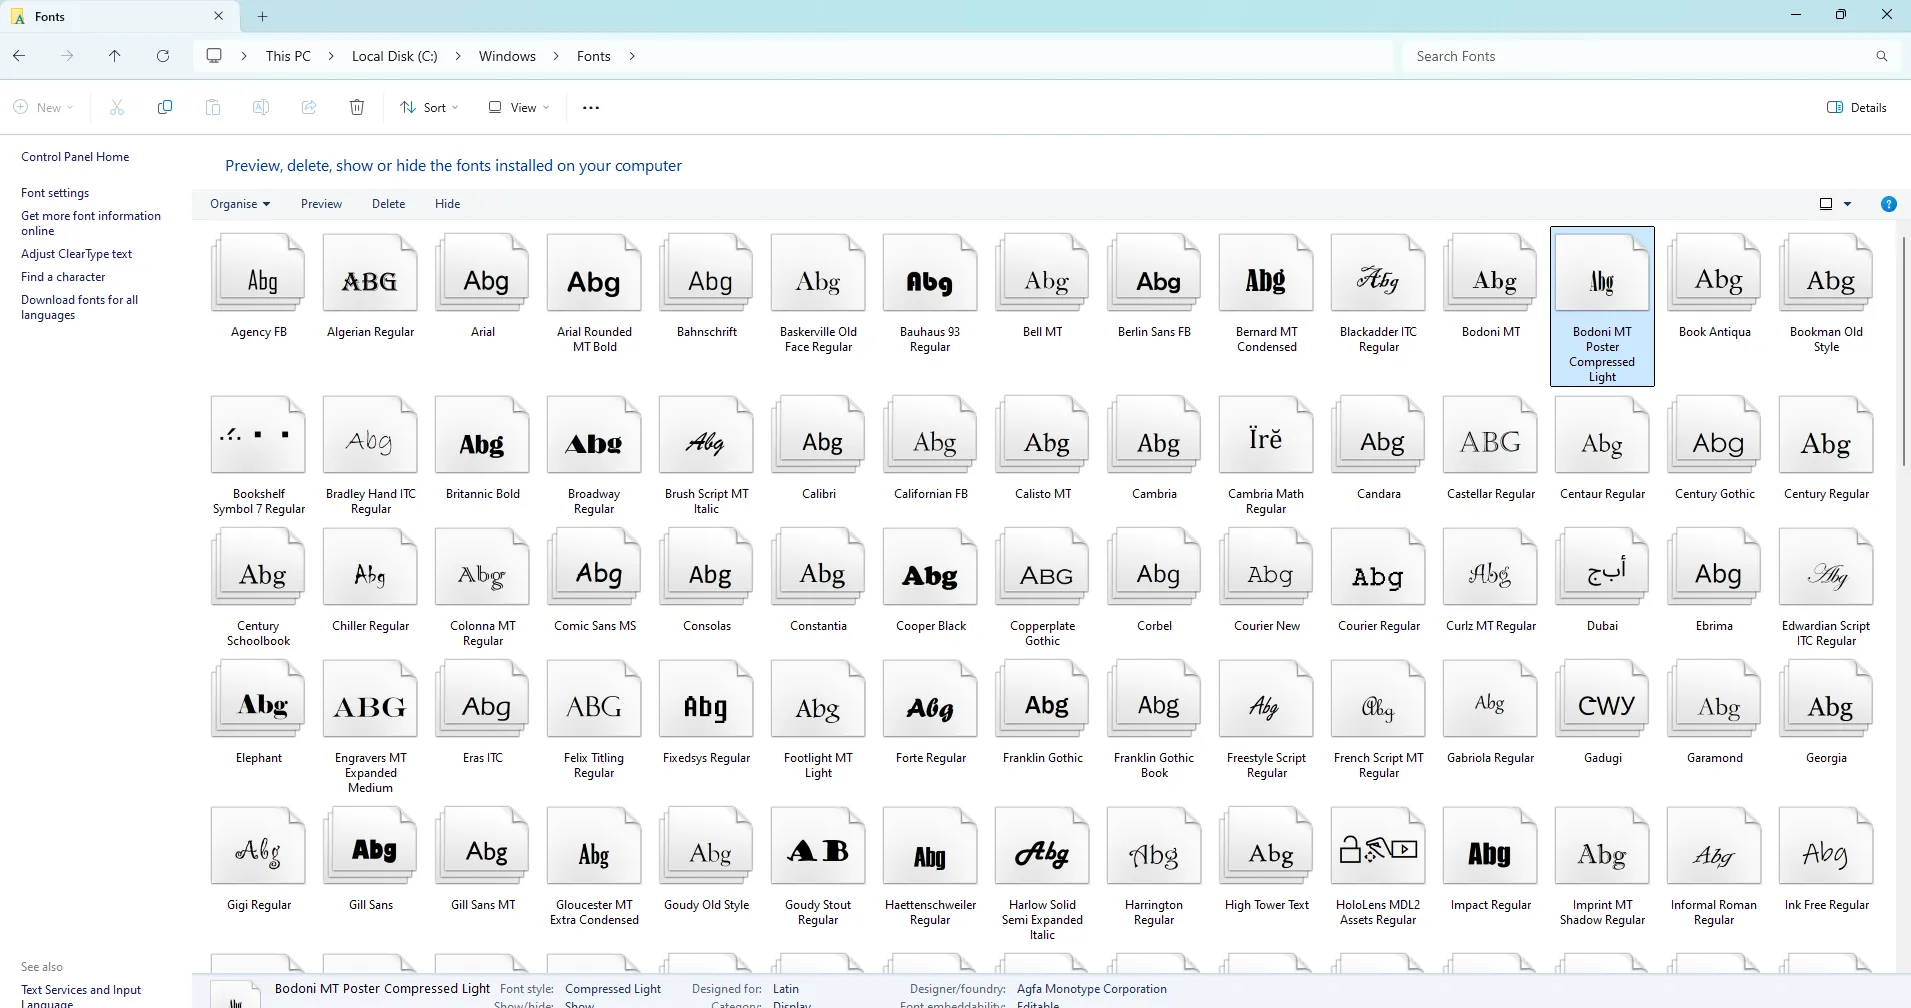
Verify default fonts on the Fonts page
Restoring default font settings will undo custom font changes. Backup any important configurations first.
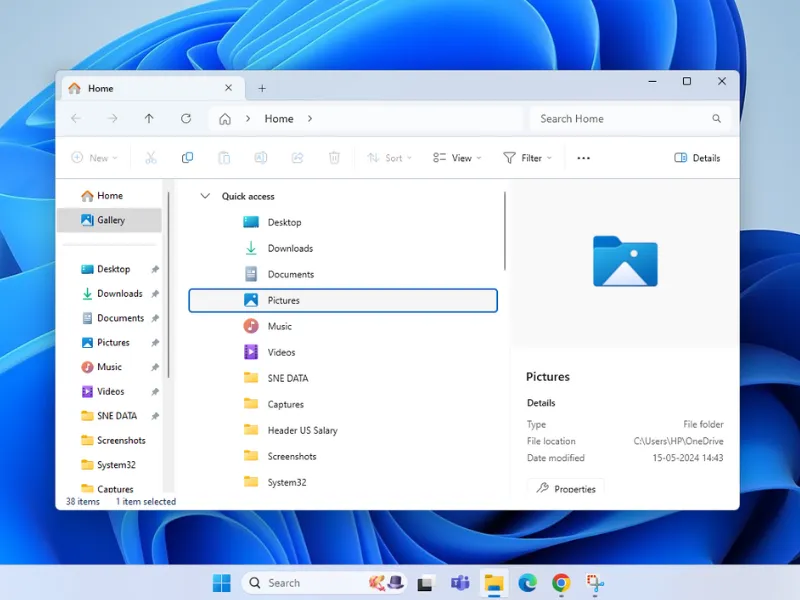
Open Settings
Navigate to Personalisation > Fonts
To add fonts:
Check "Available fonts" section to verify restoration
Your system currently has 277 fonts installed
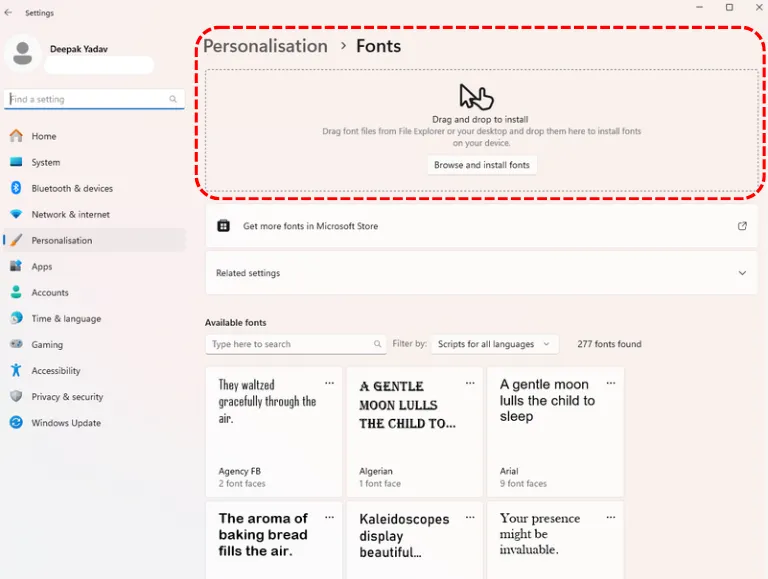
For missing system fonts, consider using Windows' built-in repair tools or system restore to a point before fonts were lost.
Press Windows key + X and select "Windows Terminal (Admin)"
Type the following command and press Enter:
systemreset -cleanpcChoose "Keep my files" when prompted
Follow the on-screen instructions to complete the process
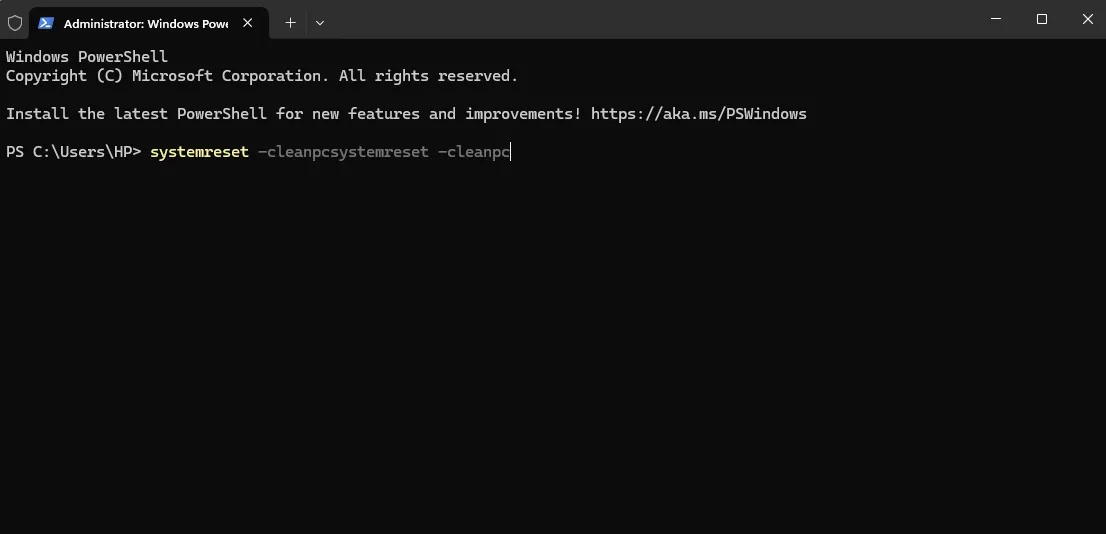
This method resets more than just fonts, so use it if you want a broader system refresh.
Open Command Prompt as administrator (see Method 2, step 1)
Type the following command and press Enter:
sfc /scannowWait for the scan to complete (may take several minutes)
Restart your computer
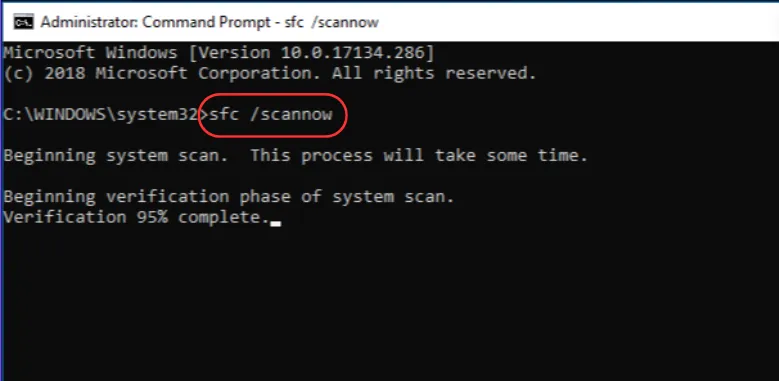
This method can fix corrupted system files that might be causing font issues.
Open File Explorer and navigate to C:\Windows\Fonts
Right-click in the folder and select "Paste" to add any missing default fonts
If prompted, click "Install" for each font
You may need to download missing default Windows fonts from a trusted source before pasting.

Create a system restore point: Protect your data before making changes
Uninstall recent fonts: Remove newly installed fonts to see if it resolves the issue
Update Windows: Regular updates may include font fixes
Clear font cache: Restart the "Windows Font Cache Service" in Task Manager
Use third-party tools: Consider font management tools for advanced options

.webp)
.webp)
.webp)


.webp)