Method 1
Switch account types in seconds using Windows’ modern interface.
Open Settings

Press Win + I.
Go to Account Settings
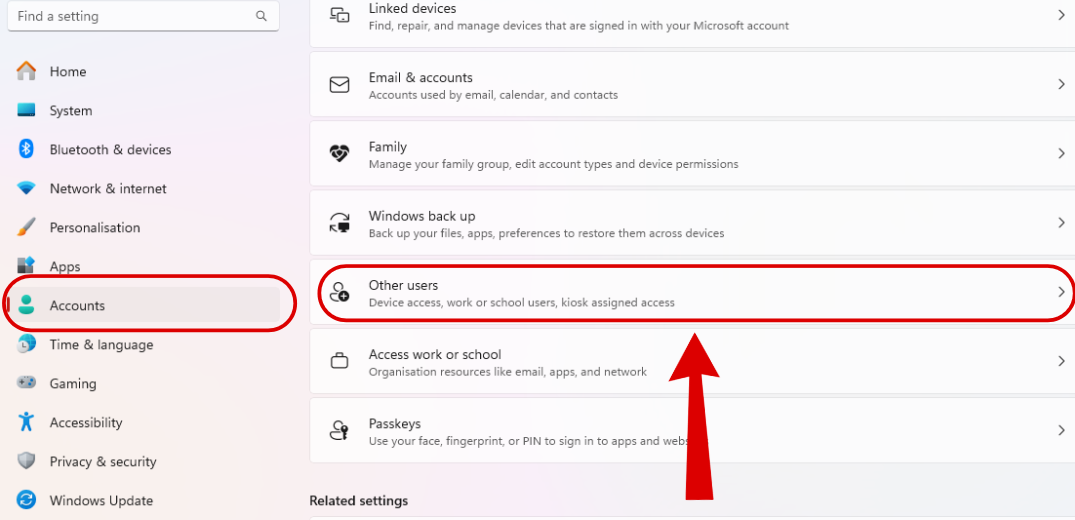
Navigate to Accounts > Other users.
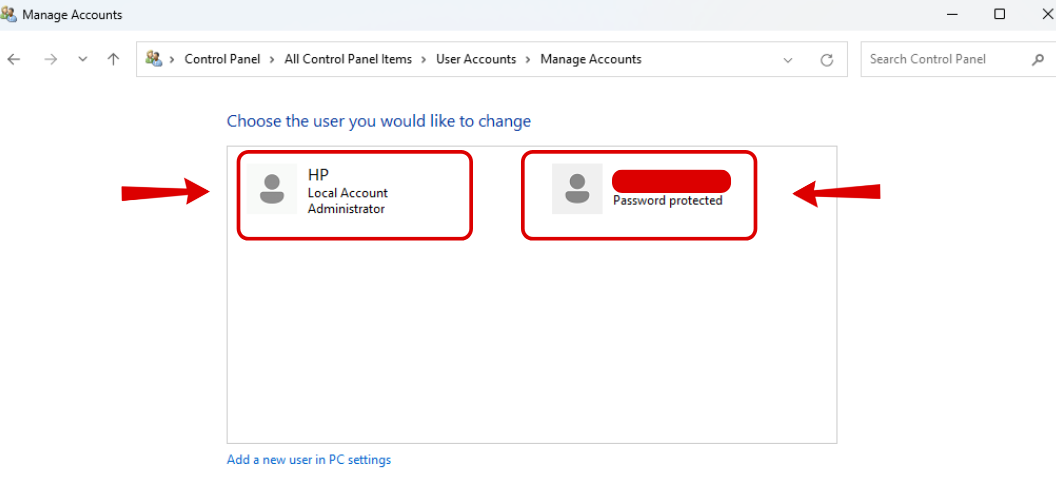
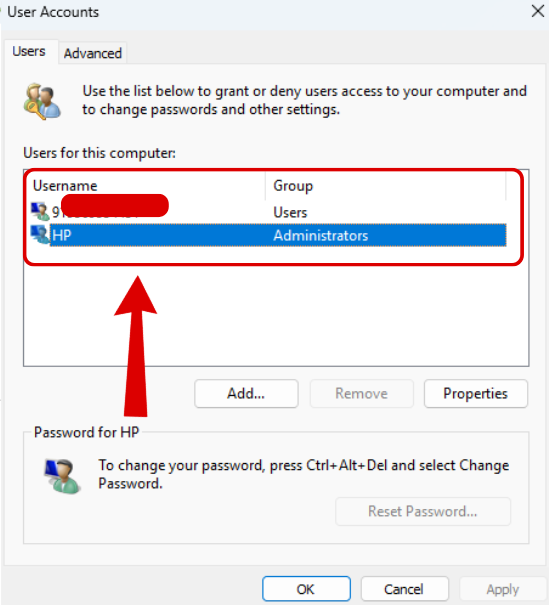
Select Account
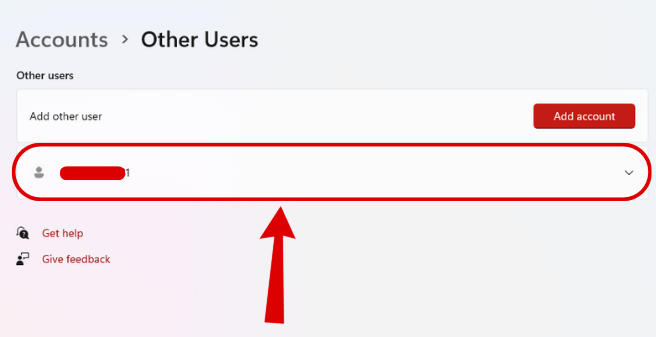
Click the user you want to change.
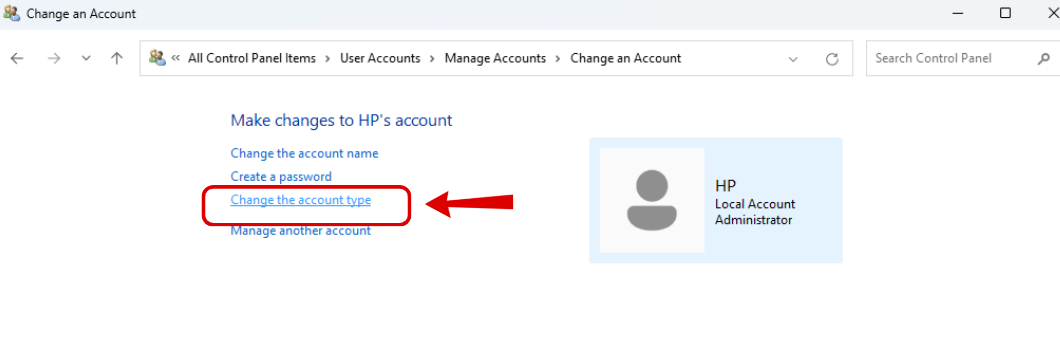
Change Account Type

Click Change Account Type button. (It may ask you for login, as confirmation. Login & proceed further)
 Step 5
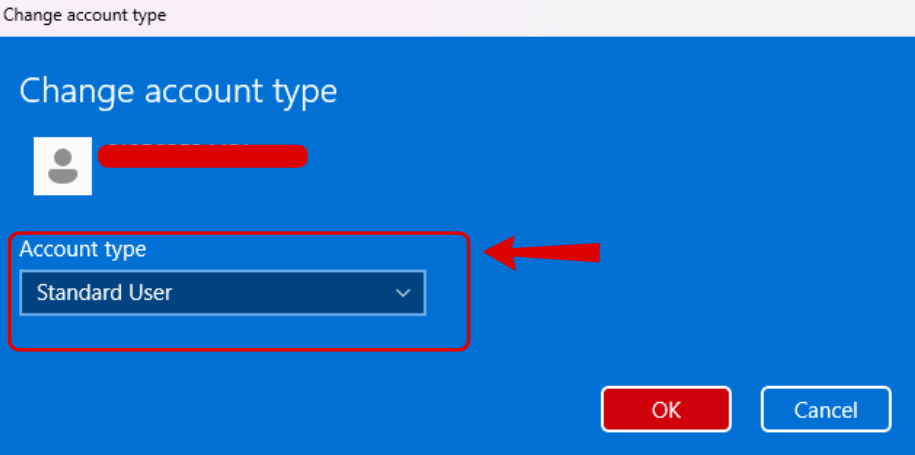
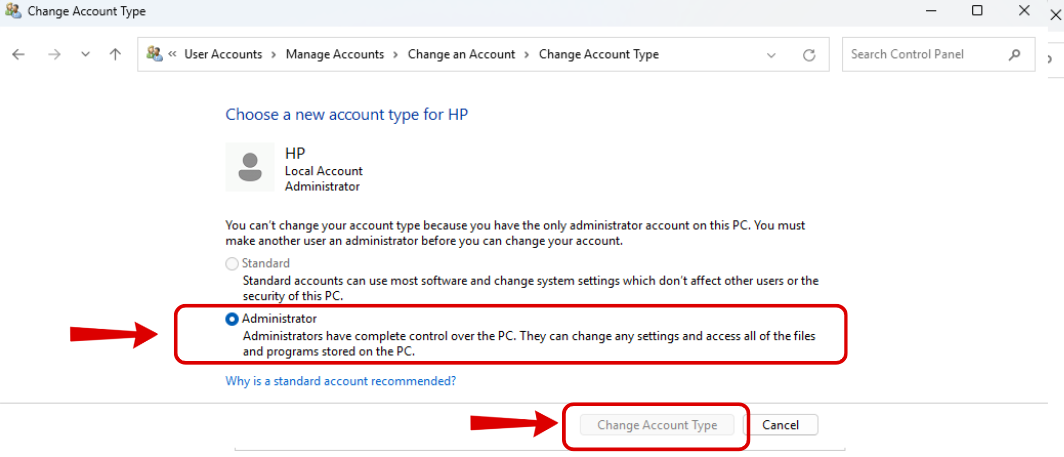
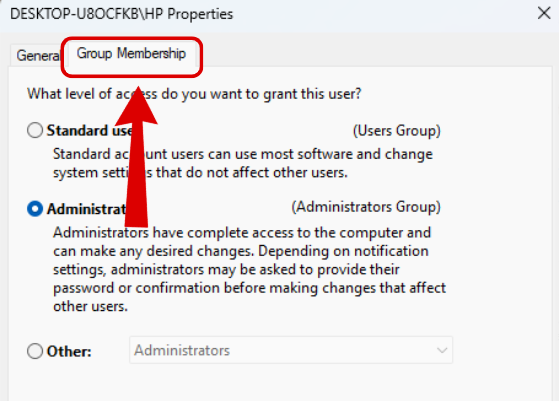
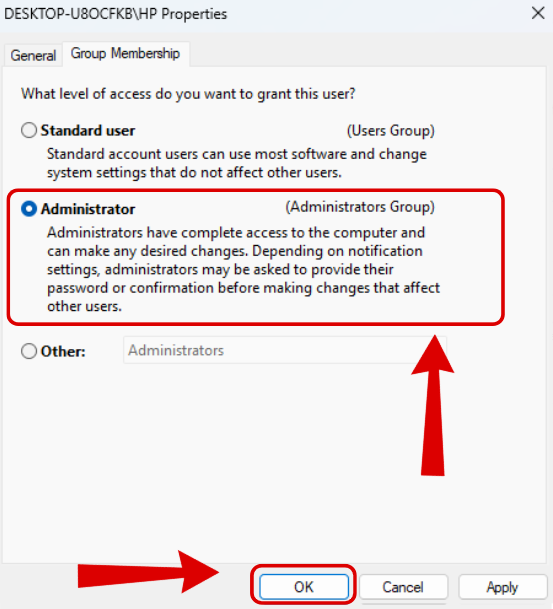
Choose Role
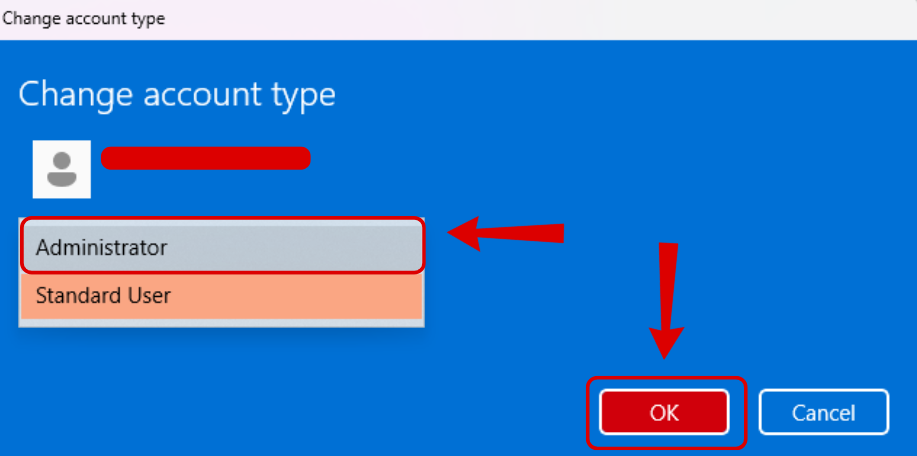
Select Administrator or Standard User, then click OK.
Tip: Repeat the steps and choose Standard User to remove admin rights.


.webp)