WINDOW 11

How to Change Screen Timeout on Windows 11 (PC & Laptop)

3 SOLUTIONS
JUNE 06, 2025

Screen timeout turns off your display after inactivity to save power. But the default time can be too short if you’re reading or presenting. This guide shows you three easy ways to adjust screen timeout settings in Windows 11, so your screen stays on just how you want.

Deepak Yadav
Deepak Yadav

For Laptops on Battery

Screen: 5-10 minutes, Sleep: 15-20 minutes

For Plugged-in Devices

Screen: 15-20 minutes, Sleep: 30-45 minutes

For Presentation/Creative Work

Screen: 30 minutes or never, Sleep: 2-3 hours

Advertisement

Using the Windows 11 Settings App (The Standard Way)

4 STEPS EASY 2 MIN

1/3

METHOD
Method 1
Overview

This is the most user-friendly method to change screen timeout from the Settings app.

Method 1 of 3
Next Method

Open Settings

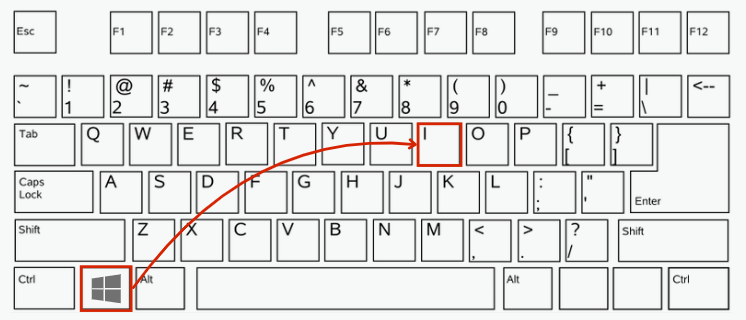
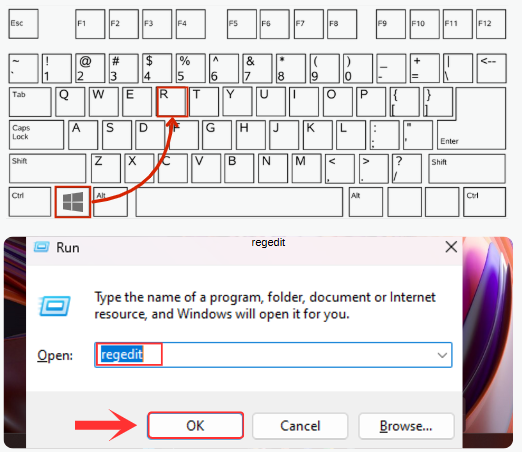
Press Win + I to open the Settings app.

Method 1 of 3
Step 1 of 4

Access Power Settings

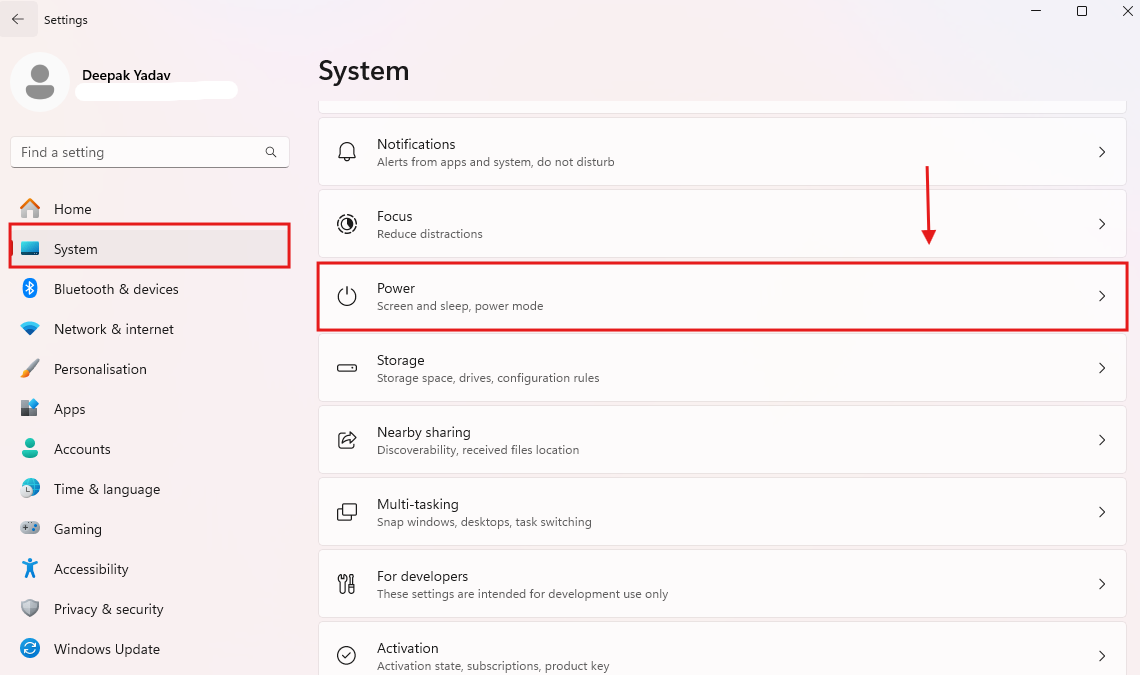
Click System on the left pane and then select Power on the right.

Method 1 of 3
Step 2 of 4

Locate Screen Timeout Options

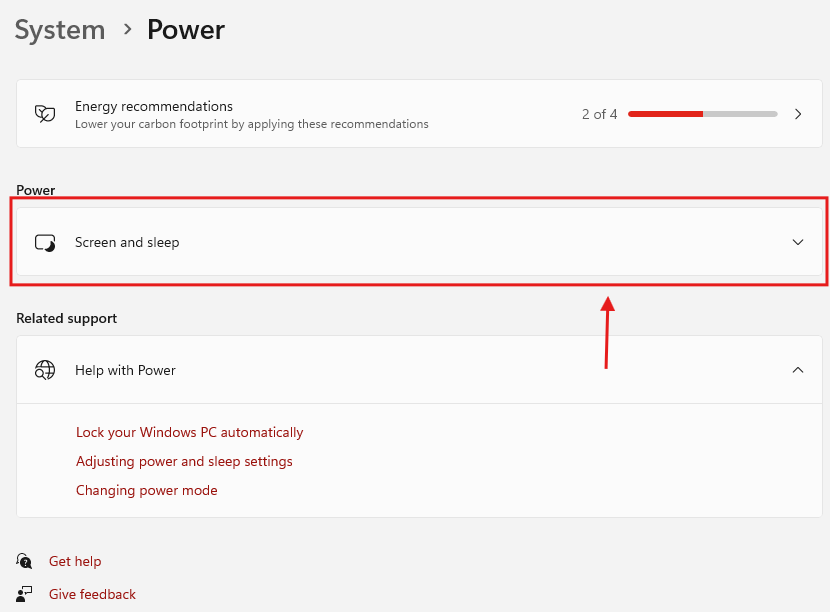
Scroll to the Screen and Sleep section.

Method 1 of 3
Step 3 of 4

Adjust Timeout Settings

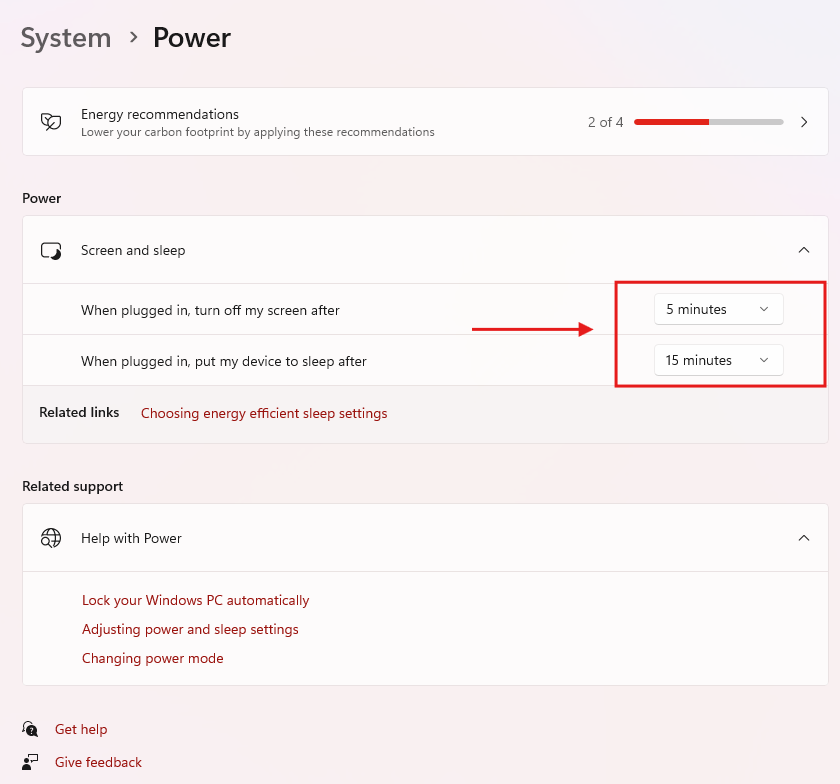
Choose desired timeout values for On battery power and Plugged in. Options range from Never to 1 minute or more.

Tip: Use shorter timeouts when running on battery power to maximize battery life.

Method 1 of 3
Step 4 of 4
Advertisement

Using the Control Panel (The Classic Approach)

5 STEPS EASY 2 MIN

2/3

METHOD
Method 2
Overview

Control Panel is the old way of tweaking advanced settings.

Method 2 of 3
Next Method

Open Control Panel

Press Win + S, type Control Panel, and press Enter.

Method 2 of 3
Step 1 of 5

Access Power Options

Navigate to Power Options.

Method 2 of 3
Step 2 of 5

Select or Customize a Power Plan

Pick an active plan like Balanced and click Change plan settings.

Method 2 of 3
Step 3 of 5

Set Screen Timeout

Use dropdown menus under Turn off the display to set time for On battery and Plugged in.

Method 2 of 3
Step 4 of 5

Save Changes

Click Save changes to apply your settings.

Note: Choose Change advanced power settings to tweak additional options like screen brightness during sleep.

Method 2 of 3
Step 5 of 5
Advertisement

Using the Command Prompt (The Power User Way)

5 STEPS EASY 2 MIN

3/3

METHOD
Method 3
Overview

Editing the Windows Registry gives full control over the screen timeout values but should be used with extreme caution.

Method 3 of 3

Open the Registry Editor

Press Win + R, type regedit, and press Enter.

Method 3 of 3
Step 1 of 5

Navigate to the Timeout Key

HKEY_LOCAL_MACHINE\SYSTEM\CurrentControlSet\Control\Power\PowerSettings\7516b95f-f776-4464-8c53-06167f40cc99

Method 3 of 3
Step 2 of 5

Locate Subkeys for Timeout

Look for ACSettingIndex (Plugged in) and DCSettingIndex (Battery).

Method 3 of 3
Step 3 of 5

Modify Timeout Values

Double-click each key and enter the timeout in seconds (e.g., 600 for 10 minutes).

Method 3 of 3
Step 4 of 5

Restart Your Computer

Reboot to apply the changes.

Warning: Editing the Registry incorrectly can cause system issues—only proceed if you're confident.

Method 3 of 3
Step 5 of 5

Additional Tips

Image

Reduce screen timeout by 25% when battery is below 20%.

Consider ambient light sensors when setting timeouts.

Use dark mode to complement screen timeout settings.